Chasing that little nuisance, Laura, around the mysterious Silent Hill has brought you to the Brookhaven Hospital, Silent Hill 2’s next item on the Find Mary agenda. Puzzles are harder and enemies are tougher—and even Maria doesn’t want anything to do with this place, as she admits herself to one of the “cozy” hospital beds.
Here is our full guide on how to make it out of the Brookhaven Hospital alive in Silent Hill 2 remake.
This guide has Standard puzzle difficulty solutions and combinations.
Silent Hill 2 remake Brookhaven Hospital: Full guide
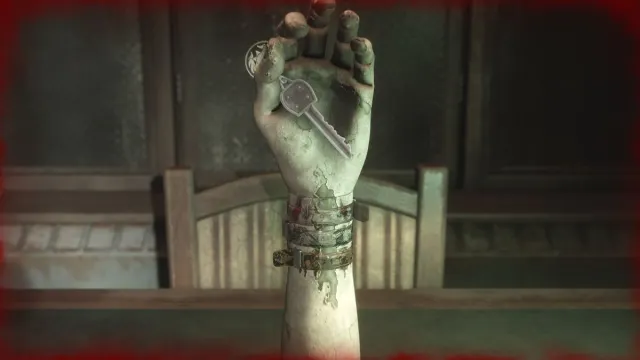
Like Wood Side Apartments, the Brookhaven Hospital centers around a single puzzle. However, to find the pieces to solve this puzzle, you must complete smaller puzzles in this labyrinth-y section of Silent Hill 2. The puzzle revolves around the three crucial patients. The Director’s Office reveals the locations of each patient, but all that remains of their existence is their Patient Bracelet.
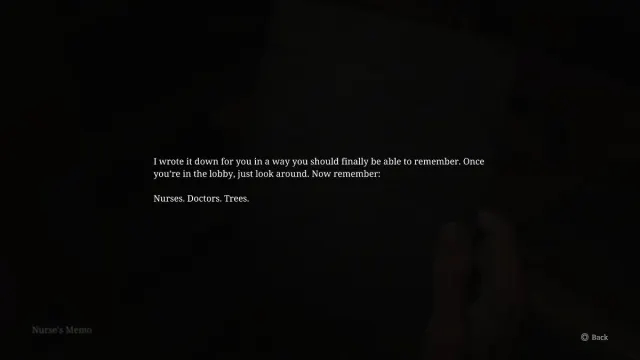
First thing’s first, you need to get to the Basement to restore power to the elevator. Honestly, this section was a little confusing due to your limited access at the start of Brookhaven Hospital. The goal here is to solve the padlock inside the Reception Office by counting the Nurses, Doctors, and Trees on the paintings inside the Lobby. You learn this from the Nurse’s Memo in Exam Room 3 (accessible by breaking this room’s window). The combination for the padlock is 7 2 4.
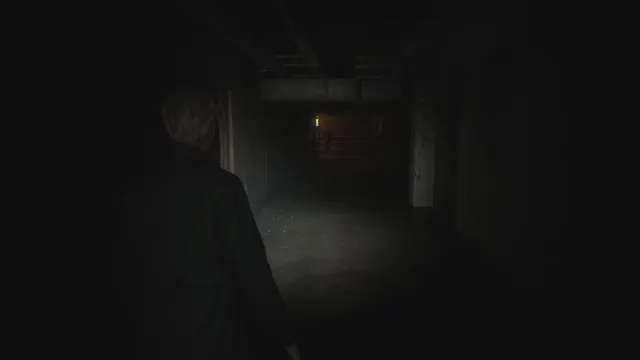
Basement Key in hand, head down to this area where Mannequins roam as you pick up the Empty Fuel Can from Boiler Room and fill it inside Storage. Restore power with the Fuel Can in the Generator Room and return to the Lobby to reach 2F via the elevator.
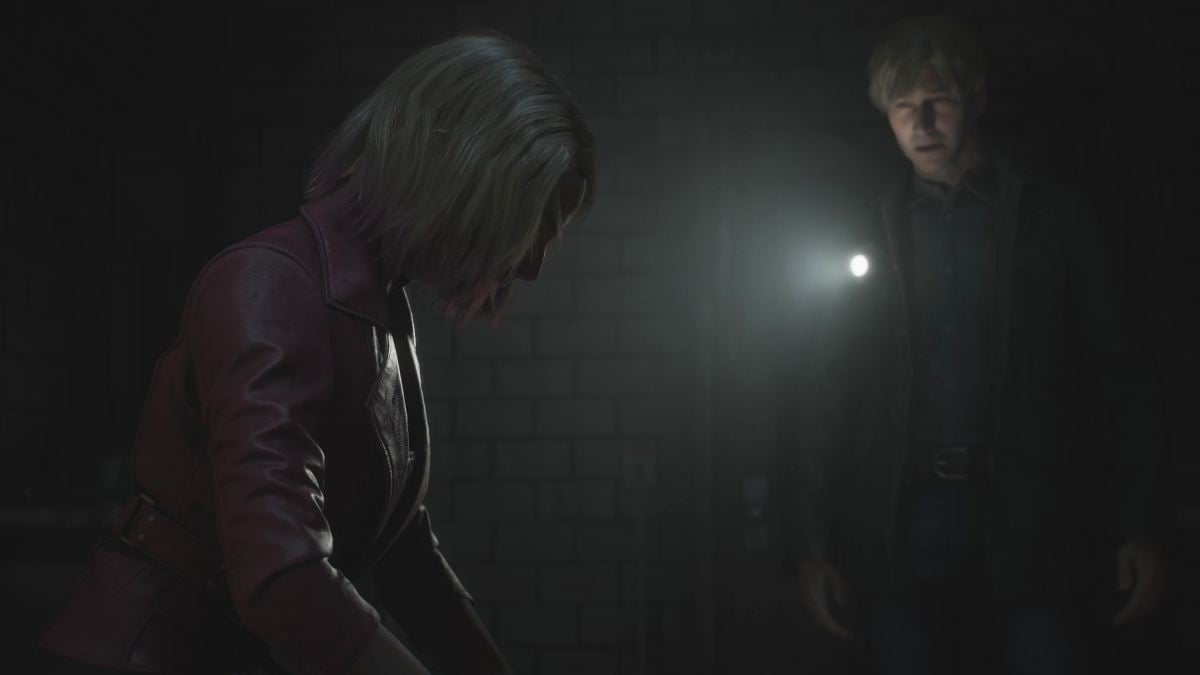
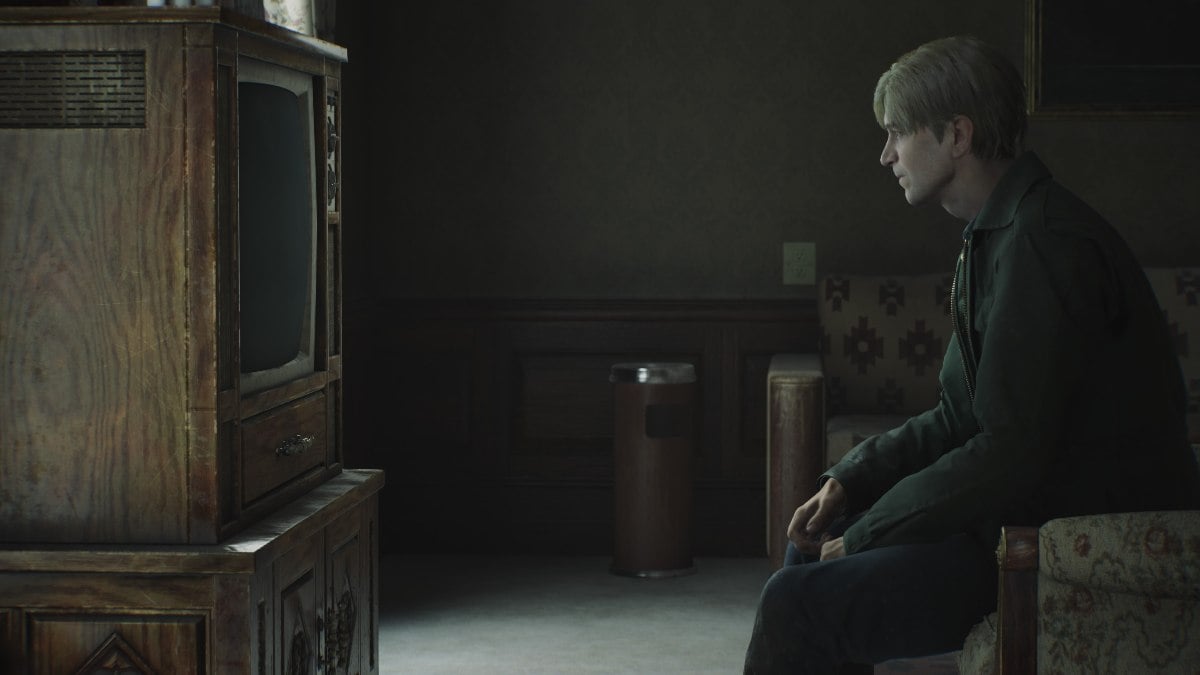
Brookhaven Hospital feels strangely comforting to begin with. The sunlight shines through the windows— it’s almost warming to a certain extent. However, peace doesn’t last for long as Maria decides to dip out of the puzzle-solving, head-bashing gameplay. Clearly, she’s not impressed by James’ finite vocabulary. The Bubble Head Nurses come out to play in Maria’s absence with three-hit combos and jittering heads. These monsters won’t go down without a fight, and unlike the Mannequin or Lying Figure, you can’t kill them.
Attack the Nurses when their heads are quickly jittering to land a critical blow.
Bloodstained Bracelet location (Patient 0050)
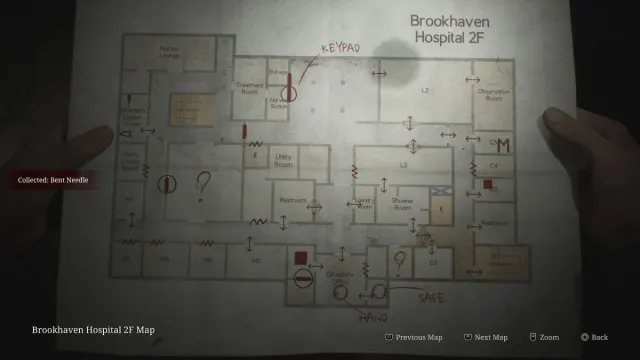
Be sure to check the Women’s Locker Room as you explore the second floor. You will find the Shotgun and Bent Needle inside. From here, head to the third floor via the western staircase. Go into Exam Room 4 to find the X-Ray puzzle (we need to solve this to get another Bracelet) alongside the Inner Ward Key. Then, backtrack all the way to the elevator to return to the first floor. You can unlock the Inner Ward on 1F with the key, which opens a new section of the Hospital.
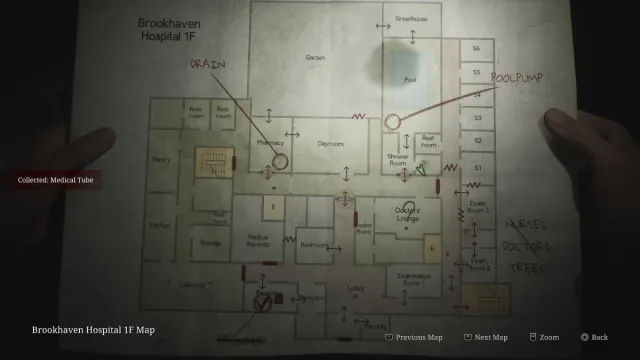
Go straight to the Shower Room. You can only access this area by entering the Dayroom first, going across to the Pharmacy, circling through the Garden, and finishing at the Pool. Pick up the Medical Tube from the unnamed room beside the Shower Room.
Head back to Pharmacy and combine the Bent Needle and Medical Tube to lift the Maintenance Key from the Drain. Return to the Pool, use the key on the Poolpump, and drain the water. Use your Pipe Wrench to break down the wall on the deep end of the Pool, revealing the Bloodstained Bracelet inside.
Filthy Bracelet location (Patient 0090)
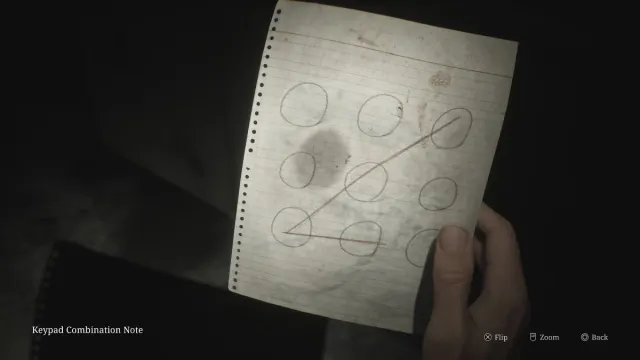
After picking up the Bloodstained Bracelet, you should focus on exploring the west side of 1F. Take the Mold Remover from the Pantry as it’s essential for this part of the puzzle. If you enter the Doctors’ Lounge on 1F, you will find the Keypad Combination Note needed for the Nurses’ Station Keypad on 2F. This tells us the code is 3 5 7 8. Pick up the Moldy Radiograph inside.
Nurses can open doors so stay frosty and keep your eyes on any unlocked doors in case an enemy knows your whereabouts.
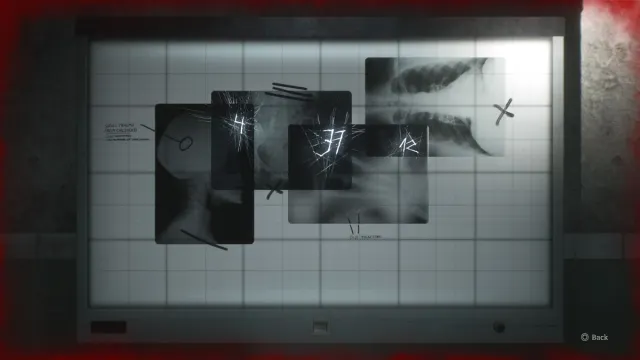
Now, go all the way back to the third floor and revisit Exam Room 4. Combine the Mold Remover and Moldy Radiograph to clear it. Pick up the Radiograph of a Pelvis inside Exam Room 4 and add both Radiographs to the LED view box on the wall. Rotate the skull, pelvis, hand, and ribcage to match the black marker lines on the view box. This shows the code 4 37 12. Use this to unlock the Combination Lock directly outside Exam Room 4 and pick up the Filthy Bracelet on the cloth-covered table inside.
Marked Bracelet location (Patient 0130)
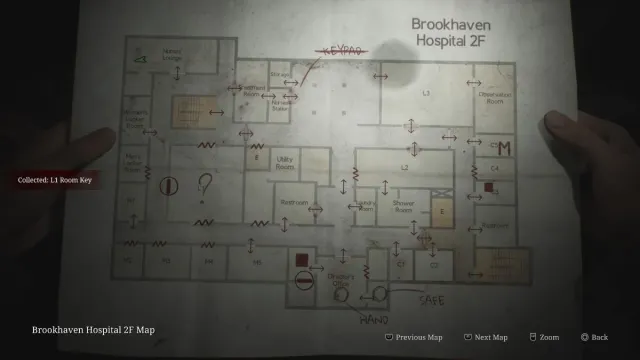
The final Bracelet is behind L1 on the second floor. Locate the L1 Room Key inside the Nurses’ Lounge and use it to access the locked room. James will follow a creature into the walls of L1 and fall into 1F’s Medical Records. You can find the Marked Bracelet on the north side of this room.
Brookhaven Hospital Safe solution
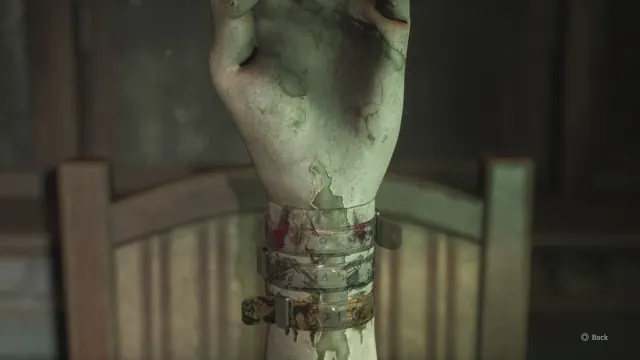
Go to the Director’s Office now that you have all three Bracelets. Place and order the Bracelets on the hand from top to bottom: Bloodstained, Marked, and Filthy. Rotate each Bracelet until a pair of numbers are clearly visible and facing towards you.

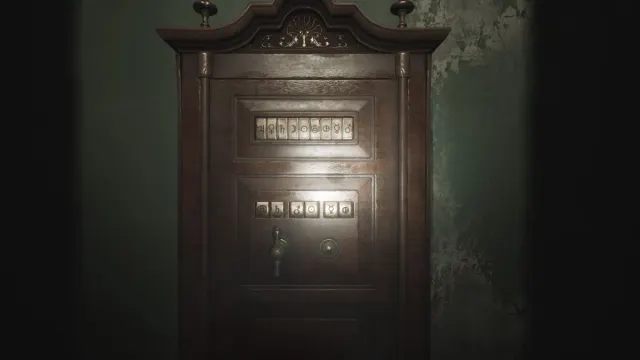
Use the key to unlock the room within the Director’s Office. Pick up the Safe Button inside and arrange the books to show a lion. The Bracelet numbers reveal the Safe sequence. Translate the numbers 92 45 71 into their corresponding symbols and input these into the Safe after adding the Safe Button.
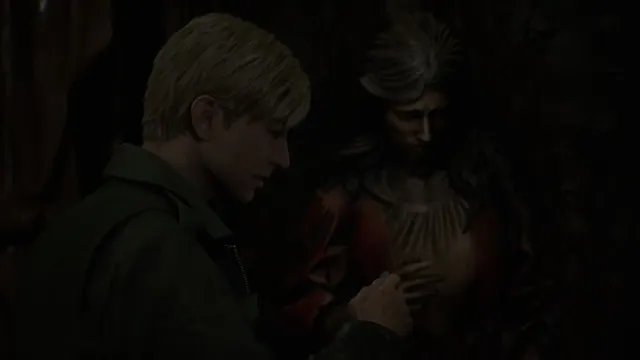
The Safe gives you the Rooftop Key, which you can use on the northern staircase from the third floor. Pyramid Head will help you reach Laura in the restricted area section of 3F. A boss fight between James and Flesh Lip ensues after Laura locks you inside a room. Defeating this boss only starts your endeavor inside the Otherworld Brookhaven Hospital.
How to defeat Flesh Lips in Silent Hill 2 remake
Flesh Lips will move around in the darkness, above the ceiling, and attempt to body slam you if you’re found underneath its path. We recommend either the Handgun or Shotgun here as it’s quite difficult to time your melee strikes in time with Lips’ attacks. As there’s only one to face, you can move around this arena, and wait for your moment to strike. Stay calm and play patient.
Time your shots as you need to aim for Lips’ flesh. Shooting the metal that encases Flesh Lips won’t harm it. The monster will bring out its claws to attack you and eventually increase its attack speed and pattern if you deal enough damage to it. Dodge to avoid its lunges and retaliate by shooting its flesh.
Brookhaven Hospital Otherworld walkthrough
The Otherworld of Brookhaven is tough to navigate because of its compact areas filled with Nurses, Lying Figures, and Mannequins. Their abilities are upgraded, making them more of a threat than usual. We recommend a firearm here unless you fancy your chances with the Pipe Wrench. You need to run to the third floor after taking the elevator to 2F. Once you find Exam Room 4, take the Instrument of Force from the table and use it on the dummy. Head down into 1F by locating the ladder on the west side of 3F.
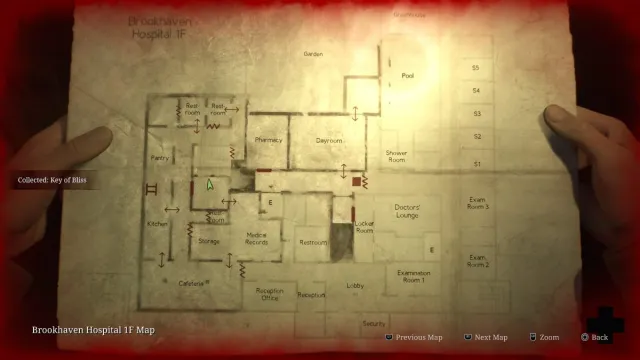
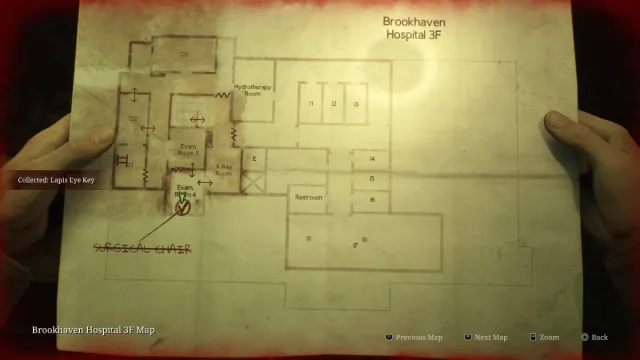
Locate the Key of Bliss in a hole in the wall of the large room directly above the Storage and Restroom. You can enter this room through Medical Records. Use the Key of Bliss on the dummy in Exam Room 4. Now that you have completed the Surgical Chair puzzle, use the staircase to enter 2F. The Lobby houses the Chained Box puzzle; a multi-layered puzzle with three elements. You already have the Eye of Lapis Key from the dummy, so use this to remove the first chain of the puzzle.
Use the open doorways as a bottleneck to lure enemies through so you can easily target them with your firearm, without wasting too many resources.
How to open the Chained Box in Silent Hill 2
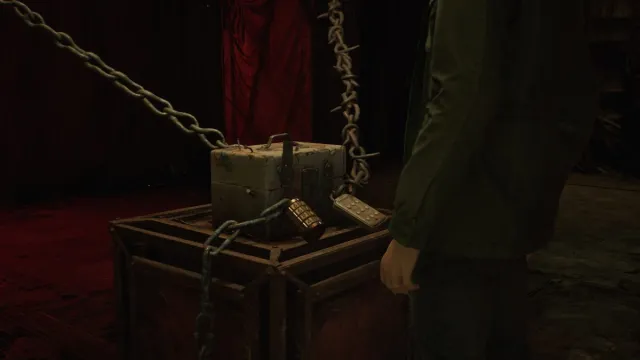
From here, you need to follow one chain at a time to uncover the codes needed for Chained Box. The answers lie in the unnamed room above the Restroom on 3F and M1 and M2 on 2F. Here’s a summary of what you need to do to solve this puzzle:
- Calendar Page combination (M1 and M2): The first number is given to you in the first line of the note (1), the second line refers to the number of pills in the sink (6), the loud horn appears (2) at the same time the lights flicker off (2). The holes in M1 show the dial you can interact with to fix and move the hand to the same time as when the lights go out, and you should look at the light outside the patient room and count how many times it flickers off. This tells you the code for the Chained Box is 1 6 2 2.
- Treatment Stretcher combination: Enter L2 to move the wheelie unit to the outside of L3. Use it to jump into this locked area and walk into the Observation Room to find the Director’s Office Key. Head south and enter the office, ascending the ladder inside, and restoring power to the Treatment Stretcher via the Generator above the Restroom on 3F. Power the Stretcher to uncover the code 9 6 5 9.
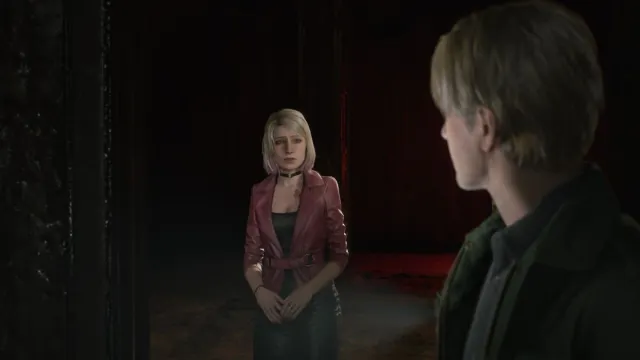
Solving this puzzle will reunite you with Maria after obtaining the -1 Elevator Button from the Lady of the Door.
Silent Hill 2 remake radio quiz answers: Hospital box combination
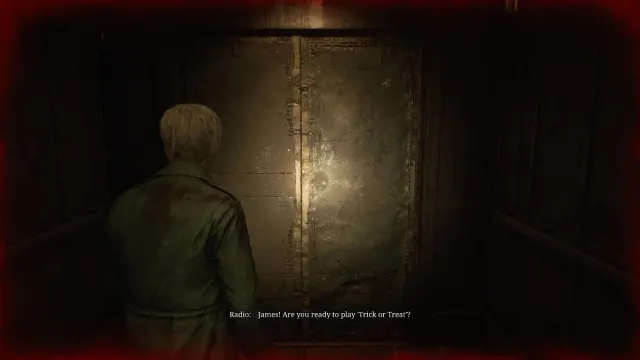
As you head down to the Brookhaven Hospital Basement, a radio show suddenly starts broadcasting—and you’re is the lucky caller. If you paid close attention or skipped reading everything you picked up, then you likely won’t be prepared to tackle the Trick or Treat quiz. But, not to worry, we have the answers below:
- 67
- Wiltse Road
- Miriam
The answers translate to the code 2 3 1. Remember the Trick or Treat code from the radio elevator quiz as you will want to use this on the Decorative Box inside the Pharmacy (1F), before heading back to the Lady of the Door to progress the story. You only need to retain the code to unlock the Decorative Box.
Lady of the Door Ring locations
The final part of Brookhaven Hospital is to locate the Copper Ring from the Basement Pump Room and the Lead Ring in the unnamed area following the Doctors’ Lounge and Locker Room. Return to the Lady of the Door on the second floor to complete the final puzzle for Brookhaven Hospital.

Published: Oct 7, 2024 06:27 am