For better or worse, shooting in NBA 2K25 isn’t only what you do on the court. You also need to know the best shooting settings to maximize your scoring potential. We’ll go through all relevant settings and tune them for the best in-game experience.
NBA 2K25 best shooting settings
The first thing you must do is navigate the NBA 2K25 main menu to the Features tab and then open Controller Settings. There, you’ll find two crucial settings that will enormously affect your shot success—Shot Timing Profile and Shot Timing Visual Cue.
Shot Timing Profile determines how important your shot timing is to make a jump shot. This is, therefore, a skill-based setting. If you’re confident in your timings, tune this to High Risk-Reward. This will increase the chances of your green releases going in and turn any white release into a brick. If this sounds too extreme, we recommend setting this to Normal Risk-Reward, which is similar to how shot timings worked in previous NBA 2K games.
Shot Timing Visual Cue is when you should release the shot button to achieve a perfect release. This is subjective for each player, but Push is the prevalent favorite among the community and generally feels the most natural in-game. It doesn’t matter which option you choose as long as you can nail the timing more often than not, but you should, at the very least, be aware of where your shot cue is at all times, as it could otherwise completely break your shooting.
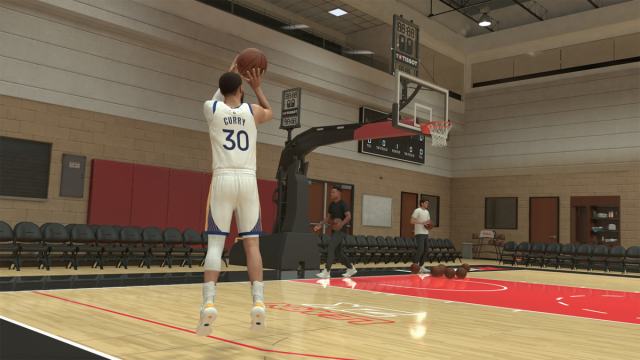
Next, from the MyCAREER menu, go to MyPLAYER, select Animations, and Customize HUD. The first thing you always want to do is open the Shot Meter Shots menu and turn Visibility For Shots off. This will increase your green release window on jumpers. If you need a little time to feel your release timing, you can still do that via Shot Feedback. Return to the Customize HUD menu, go to Shot Feedback, and set the Visibility setting to All Shots and you will get detailed feedback after each jumpshot, including your timing.
The last thing to keep an eye on is the Release Speed setting in the Custom Jumpshot Creator. You can learn how to create the best jumpshot for each height in NBA 2K25, but the important bit for shooting settings is to bump the Release Speed to maximum. There’s almost no scenario where not having the fastest possible release isn’t beneficial, and it also gives you more flexibility when designing your jumpshot. This does not affect your release timing, only the release animation, so your Shot TIming Visual Cue will still apply.


Published: Sep 10, 2024 08:23 am