Thrown into the deep end, your task is to kill the snitch in The Outlast Trials. At least it’s not you this time around. But don’t relax now as the Ex-Pop are looking to take off your head just like the rest of the laying bodies inside the Police Station.
Here is how to pass the Police Station Trial in The Outlast Trials.
The Outlast Trials: Kill the Snitch walkthrough
Kill the Snitch is the first Trial in The Outlast Trials. It introduces you to the main gameplay mechanics while giving you little-to-no options to fight back against the Ex-Pop agents. Regardless of whether you are playing The Outlast Trials alone or with friends, we’ll get into everything you need to do to pass this Trial, survive Leland Coyle, and kill the snitch.
You can pretty much always relax at the beginning of every Trial and MK-Challenge as most enemies don’t spawn at this point. Don’t go up to any random NPCs however as you can receive unnecessary damage, lowering your chances of that A+ grade. Take this moment to loot any throwables and Medicine. Don’t worry about the Antidote yet as this won’t be a real issue in this Trial unless you regularly open toolboxes for extra loot that are rigged with toxic gas.
Objective: Reach the Security Room and open the Jail Gates
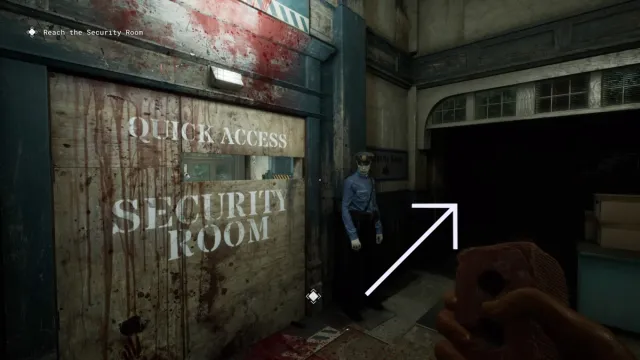
Enter through the door with a Jail sign above it. Here you get the first objective of the Trial: Reach the Security Room. Be aware of any boobytrapped doors, identifiable by the red light in the corner of the door. If you have nowhere to go, make sure to crouch before you unlock any boobytrapped door to avoid taking stun damage.
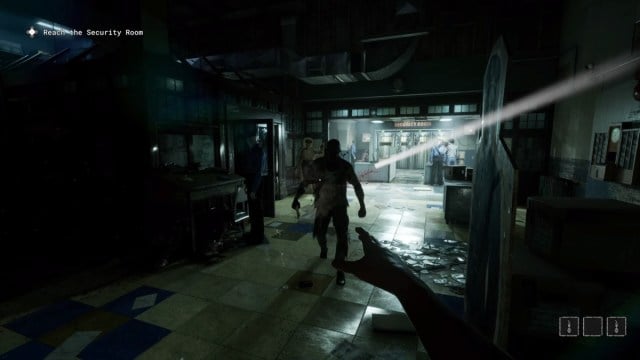
Use the Quick Access wall if you have teammates to send someone over for a shortcut to the Security Room. For solo players, head to the right, into the darkness, turn left and circle all the way around until you approach the Security Room. You have to get around the Climber here so use your night-vision to navigate through the darkness and avoid setting off any sound traps. Circling round to the opposite side of the Security Room, you will find revolving doors you can enter to avoid the Climber and complete this objective.
Objective: Start the Generators in the Basement
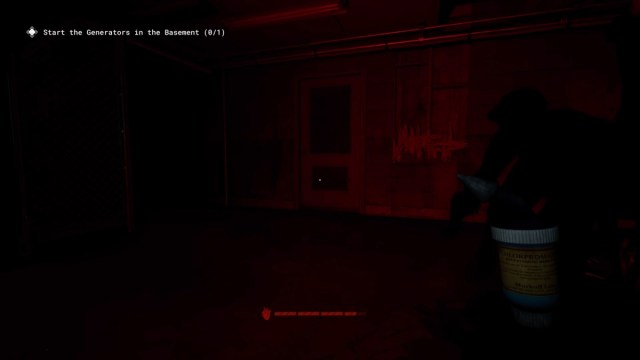
Head through the now unlocked gates and follow the bloody tracks on the floor to find the snitch. The building will fall into darkness with the backup generators switched online.
In true Outlast fashion, you now need to find the fuel to turn on the generators in the basement. Enter the basement area via Underground Parking. In the carpark, head to the room emitted by the red glow. You can find multiple jerry cans nearby.
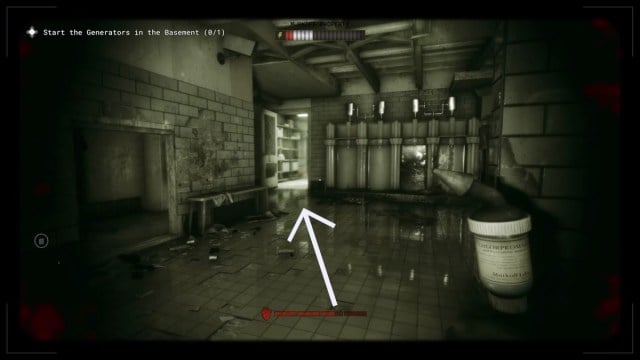
Pick up any jerry can and find the Shower Room, an enemy will likely spawn in here once you enter. Exit out of the dark locker room and into the well-lit room with wooden boxes in the center of it. The Generator Room can be seen here.
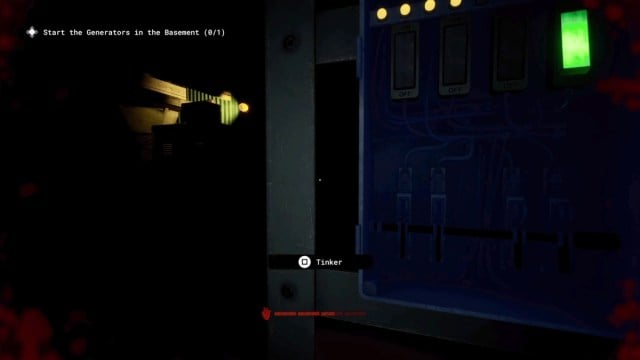
Pour fuel into the generator and flip the circuit switches on both sides of the generator (flashing red switches). These are always set in a randomized order. Listen out for any enemies and use the behind the generator oil tank in case any enemies are nearby. You then need to hit the interact button when the line on the generator gauge falls into the green bar three times to successfully start the power. Run back to the snitch via the route you came in, lifting the Underground Parking shutters and returning to the cells.
Objectives: Open the Gates
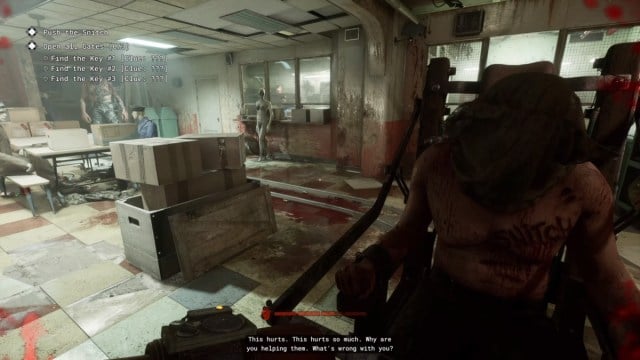
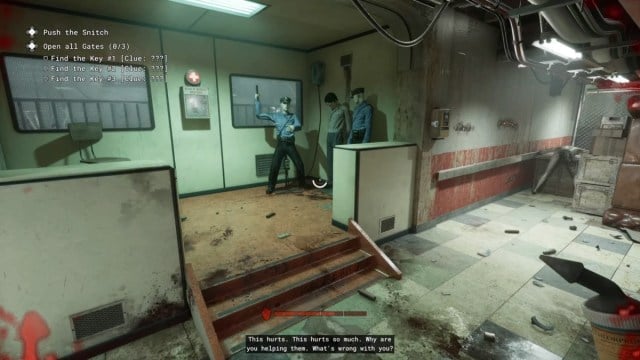
After pushing the snitch, you find a gate that can only be opened with a key. Pick up the key through the yellow door on your left and search through the corpse. Unlock the door and push the snitch until the next set of gates. This will take a while as enemies like the Grunts, Climber, Pusher, and Leland Coyle appear while you push the snitch, so be alert at all times.
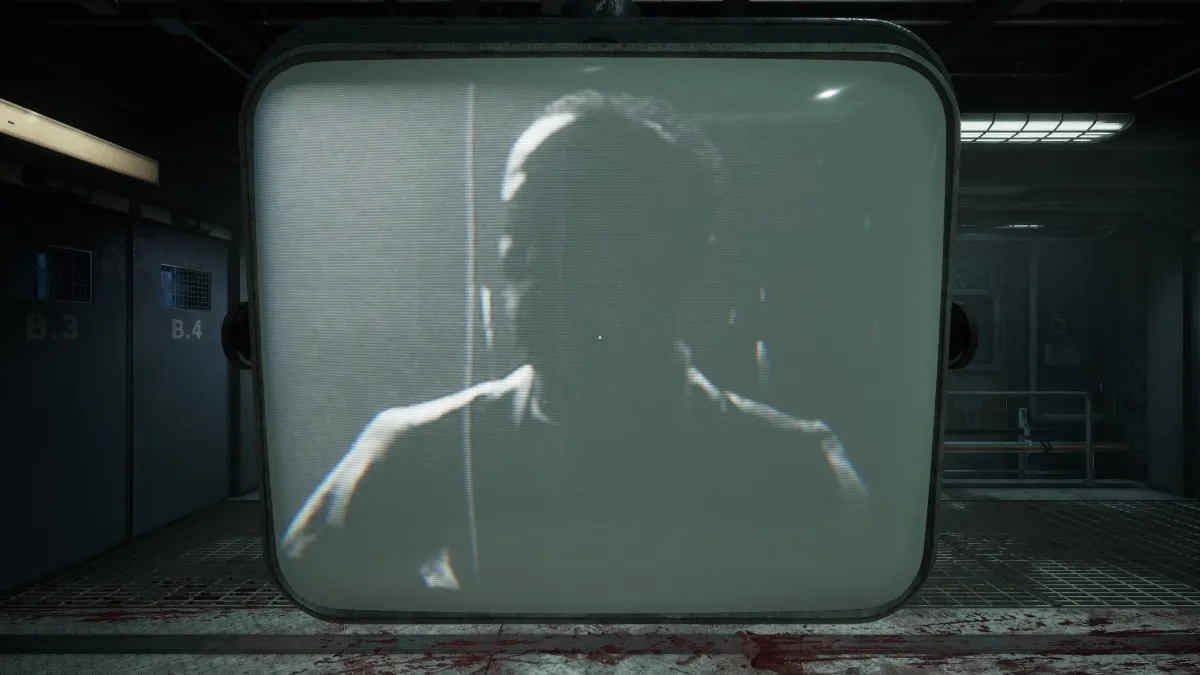
Use cover opposite the Infirmary to hide from any enemies that spot you from afar, this way you won’t need to risk hiding in lockers. You can also use dark rooms (Infirmary, Exchange Processing) as these enemies cannot see you in the darkness. Try to stick to the linear path of the tracks to find the televisions with clues to the corresponding key. You need to stare at the televisions for the clue to appear on your objectives.
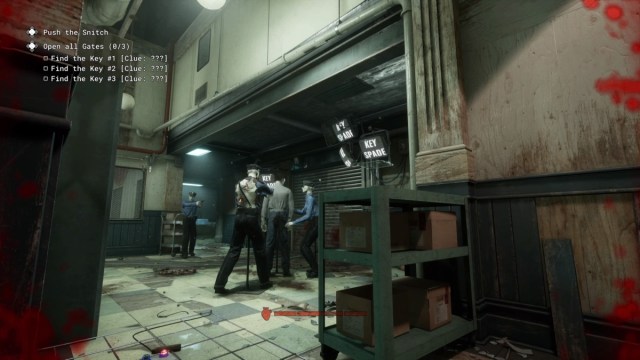
The three gates you need to unlock are:
- Opposite Administrations Office shortcut
- Next to the Infirmary
- Between Evidences and Laboratory
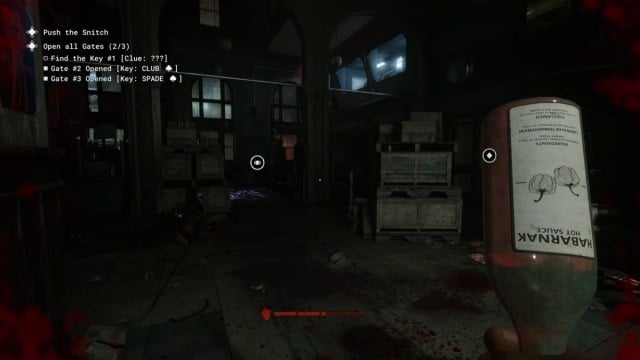
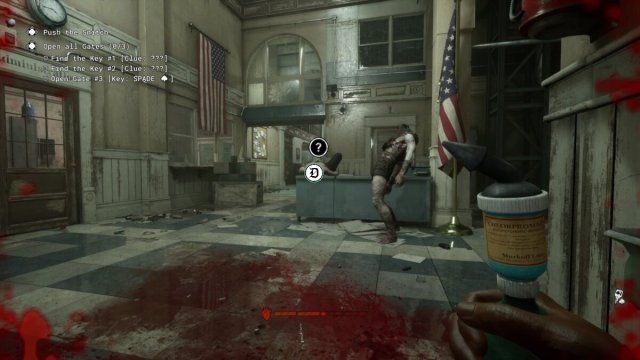
Explore the area and look for any question marks that can appear in your vision as these indicate corpse locations. Look at the corpse chest to identify the pattern. Make sure to stare at it until the bar fills so the game notes what icon belongs to which corpse (this helps in the long run).
You should find all three keys through a process of elimination. The Screamer can spawn in close to a corpse. Crouch walk and avoid sound traps to check the corpse in case it has the key you’re looking for. Keys inside corpses can appear in Reception, dark rooms behind Laboratory, Detective Rooms, and Administration.
The outside area of the Police Station is typically safe so long as an enemy doesn’t chase you through it. Use it to navigate to and from the Laboratory and Reception.
Objective: Electrocute the Snitch

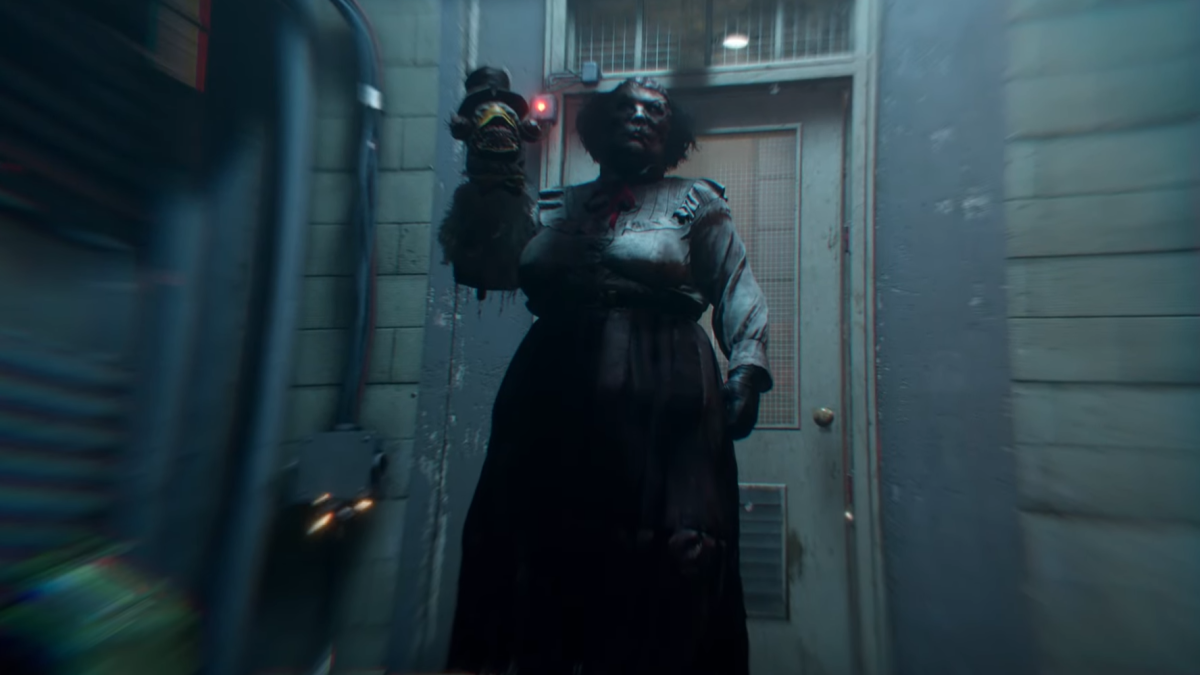
The final objective before exiting the Trial is to electrocute the snitch. You will likely face off against multiple enemies until you eventually push the snitch all the way through and into the electrocution room. Make sure to save your stamina and backtrack to previously unlocked gates to avoid taking damage from enemies. Once you have the snitch in his chamber, you need to hold the levers to electrocute him. This action will always trigger Leland Coyle.
You can take turns to lure Coyle away by triggering a chase with him using the levers. Keep switching teammates out to repeatedly lure Coyle away from the electrocution room. Solo players should hold onto the lever for as long as they can, letting go when Coyle enters the room. You can then loop around the snitch chamber, backtracking to the end of the corridor and using the Criminal Records side room to avoid getting hit. Repeat this cycle of pulling the lever and running from Coyle until you fill the “electrocute the snitch” bar.

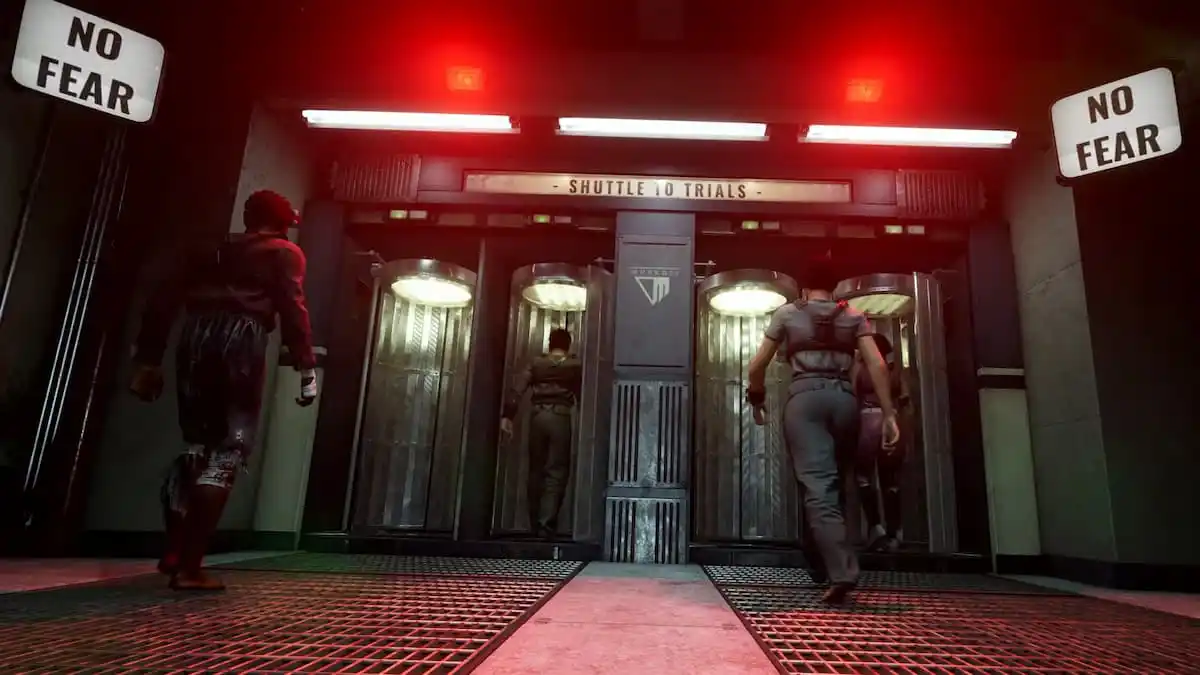
Exit the Trial by running back to the Holding Cells, past the Security Room, and back through the Jail door you originally entered through. Coyle will appear in the spawn area. You can sneak past him and call the shuttle without alerting him or run past and use throwables to keep him at bay while you wait for the shuttle.

Published: Mar 5, 2024 10:49 am