Aurimas “Bymas” Pipiras is a professional CS:GO player from Lithuania.
Born in 2003, the talented pro burst into the competitive CS:GO scene in 2019. Bymas started to make a name for himself after he placed first in Faceit Pro League’s (FPL) October 2019 season. His dominant run during the league drew FaZe Clan’s attention, which was looking for a replacement for olofmeister. The veteran player, olofmeister, was planning to take a few months off due to fatigue from competing, leaving FaZe in need of a substitute.
Bymas placed third in two S-Tier tournaments during his three-month-long journey with FaZe and then signed with Mousesports in August. Despite being one of the dominating forces in FPL, Bymas was only able to attract an average of 100 viewers in 2019. Not only did his talents improve drastically during the process, but his strong showings with popular teams also boosted his viewership on Twitch to averagely around 950 viewers.
If you’re looking to emulate Bymas’ gameplay, then copying his settings can be an excellent start. Doing so will allow you to relate to his gameplay more and understand his in-game decisions.
Here are Bymas’ CS:GO settings.

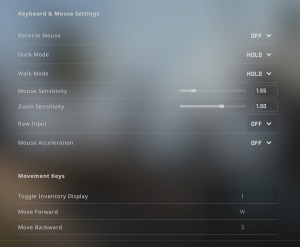
Bymas’ mouse settings
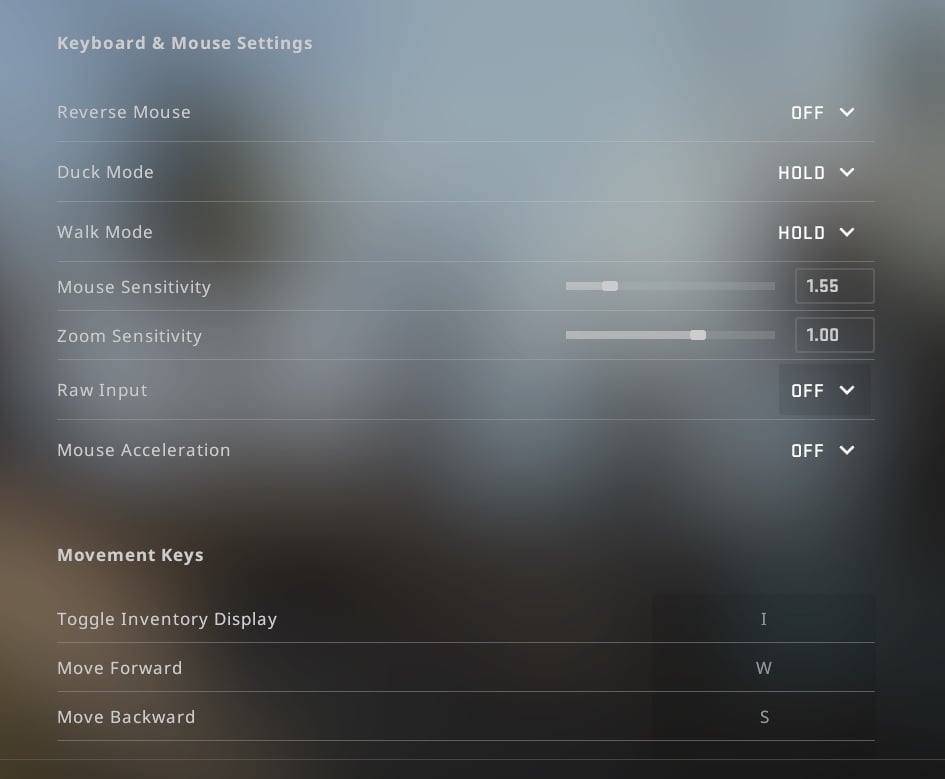
Most professional CS:GO players prefer lower sensitivity settings for better accuracy. While Bymas’ settings are definitely lower than the sensitivity of an average CS:GO player, they’re considerably higher compared to other pros.
Bymas gets away with his high sensitivity settings since his hand-eye coordination level is through the roof. He’s exceptionally good at controlling his aim, and his heavier-than-average gaming mouse makes sure he doesn’t go crazy during flick shots. His mouse pad, HyperX Fury S Speed edition, is wide and has a surface that favors speed, which is exactly what Bymas needs to complement his sensitivity settings.
Though most sensitivity settings tend to be up to personal preference, the main takeaway from Bymas’ configuration should be his polling rate. Setting your gaming mouse’s polling rate to 1000 Hz will ensure that you’ll play with the lowest response time possible.
| DPI | 800 | Mouse Sensitivity | 1.55 |
| eDPI | 1240 | Polling Rate | 1000 Hz |
| Zoom Sensitivity | 1.00 | Mouse Acceleration | Off |
| Windows Sensitivity | 6 | Raw Input | Off |
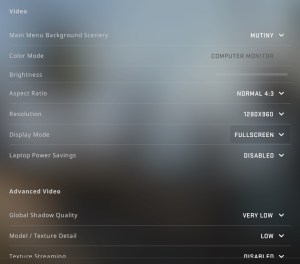
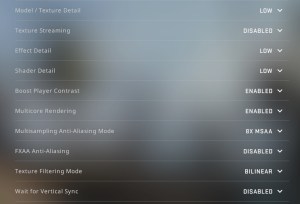
Bymas’ video settings


Bymas prefers keeping his settings at their minimum values. Though he owns a more-than-capable PC to run the game in its best, adjusting for lower values ensures he gets the most amount of frames possible. This helps players to take advantage of their high refresh rate monitors. Another reason why this is a common trait among professional CS:GO players is that they tend to travel a lot and play on different computers. Not each computer they play has the same hardware, so using the lowest settings mean they get used to each setup without wasting any time.
He combines his lower graphical settings with a stretched resolution, which also boosts performance. Stretched resolutions also tinker with the in-game characters’ size, making them larger and easier to land shots. This trick is used by almost all the CS:GO players and is a must-have if you’re having a hard time targeting the rather slim in-game models.
The only exception he makes is his anti-aliasing setting. Playing with higher volumes will smooth corners of certain textures in CS:GO, which makes the game more pleasant to look at and comes in handy while detecting peeking enemies.
| Resolution | 1280 x 960 | Aspect Ratio | 4:3 |
| Refresh Rate | 240 Hz | Scaling Mode | Stretched |
| Color Mode | Computer Monitor | Brightness | 80 percent |
| Display Mode | Fullscreen | Laptop Power Savings | Disabled |
| Global Shadow Quality | Very Low | Model / Texture Detail | Low |
| Texture Streaming | Disabled | Effect Detail | Low |
| Shader Detail | Low | Boost Player Contrast | Enabled |
| Multi-core Rendering | Enabled | Multi-sampling Anti-Aliasing Mode | 8x MSAA |
| FXAA Anti-Aliasing | Disabled | Texture Filtering Mode | Bilinear |
| Wait for Vertical Sync | Disabled | Motion Blur | Disabled |
Bymas’ crosshair settings

While the default crosshair is a great starting point for beginners, most pros prefer different colors and shapes since they’re easier to track. Losing your crosshair in a bomb-site rush mayhem will be impossible after customizing your crosshair, and you’ll be able to keep frags up while others struggle.
To use Bymas’ crosshair settings, you can copy and paste the following commands into CS:GO’s in-game console. Your crosshair should change to Bymas’ after entering them.
Sometimes, changes in the in-game console may not end up being permanent. If that’s the case, paste the following commands into your “config.cfg.” This will help you avoid going through the same process every time you launch CS:GO and save you time in the long run.
“Config.cfg” should be located under your “Userdata/SteamID” folder.
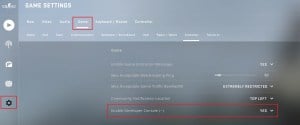
Here’s a more detailed explanation of how you can find your “config.cfg” file.
- cl_crosshair_drawoutline 1; cl_crosshair_outlinethickness 1; cl_crosshairalpha 255; cl_crosshaircolor 1; cl_crosshaircolor_b 0; cl_crosshaircolor_g 255; cl_crosshaircolor_r 0; cl_crosshairdot 0; cl_crosshairgap -2; cl_crosshairscale 4; cl_crosshairsize 2; cl_crosshairstyle 4; cl_crosshairthickness 1
Bymas’ viewmodel settings
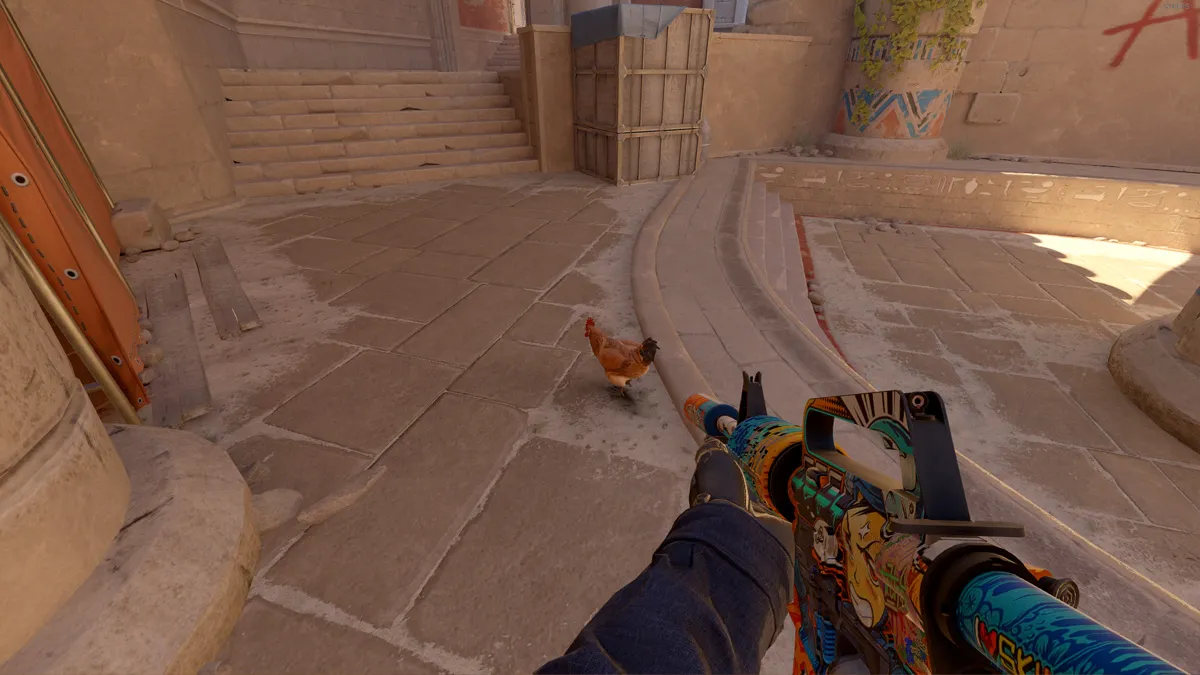
Viewmodel settings allow players to adjust the screen space that their gun takes up. This helps them gain extra screen space, which can make detecting enemies easier. The setting doesn’t shrink the gun model, but it pushes it back, meaning you’ll just be seeing the less of the gun.
Like Bymas’ crosshair settings, you can also paste these commands into the in-game console, config, or Autoexec file to adjust your viewmodel settings.
- viewmodel_fov 68; viewmodel_offset_x 2.5; viewmodel_offset_y 0; viewmodel_offset_z -1.5; viewmodel_presetpos 3; cl_viewmodel_shift_left_amt 0.50; cl_viewmodel_shift_right_amt 0.25; viewmodel_recoil 0; cl_righthand 1;
Bymas’ bobbing settings
Bobbing or cl_bob settings refers to your gun’s movement. Whenever you move in CS:GO, your gun also moves, which is a normal human reflex. This gun movement can be distracting sometimes, however, especially when you’re trying to shoot someone while you’re moving.
Paste the following commands into your console or “config.cfg” to use Bymas’ bobbing settings. You can also further customize them by adjusting the numbers attached to each line.
- cl_bob_lower_amt 5; cl_bobamt_lat 0.1; cl_bobamt_vert 0.1; cl_bobcycle 0.98;



Published: Sep 2, 2020 03:44 pm