
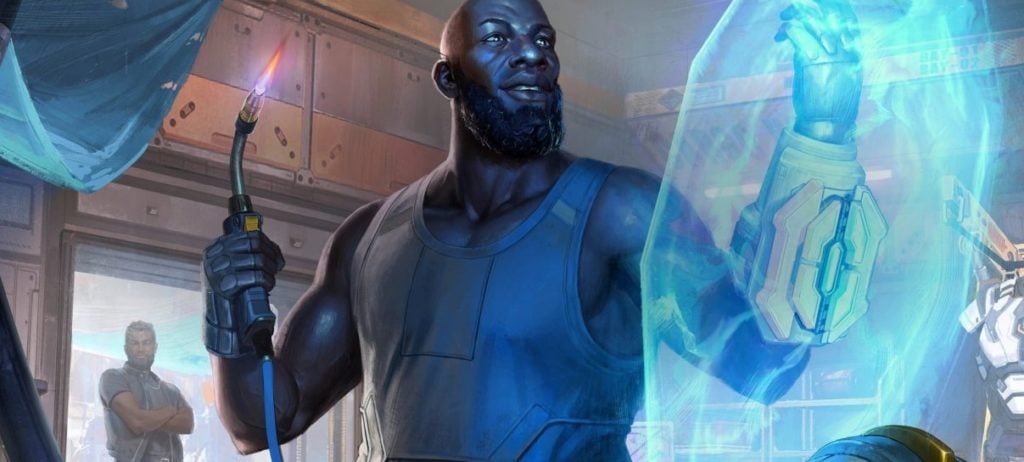
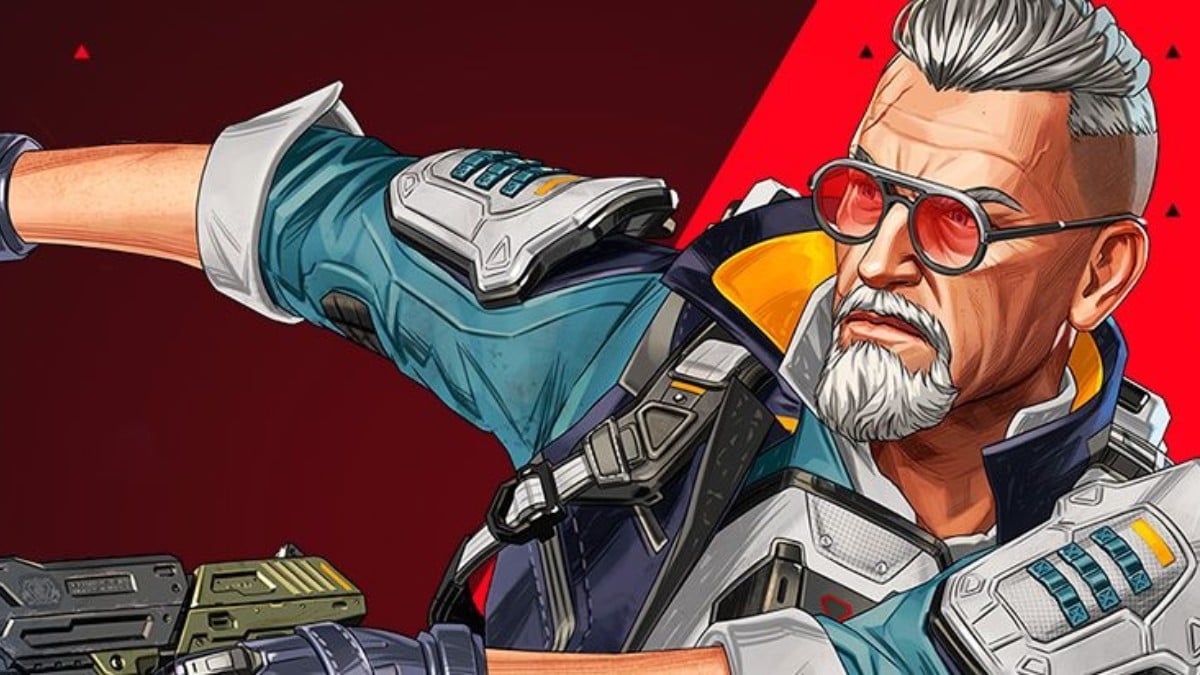
Season 13 of Apex Legends is here, and so is the game’s newest legend, Newcastle. Newcastle is a defensive specialist, but one that specializes in moving his cover from place to place, as opposed to camping out in a building.
Newcastle’s abilities are all designed to protect his team, whether they’re trying to retreat, rotate around enemies, or pressing forward into the fray. He has multiple shields at his disposal, allowing him to create cover for his team in many different situations. And while those shields don’t have the “all-in-one” protection of Gibraltar’s Dome of Protection, they do still create an impressive array of barricades from which Newcastle’s squad can operate.
Here are some tips on how to play Newcastle in Apex.
Newcastle’s abilities
- Passive: Retrieve the Wounded
- Newcastle can drag downed allies, moving them to safety while simultaneously reviving them. While he drags allies, he deploys his currently equipped knockdown shield as a small arm shield to protect both himself and his ally. This shield is breakable, and its health depends on the rarity level of his knockdown shield.
- Passive: Fortified
- Newcastle also has the Fortified passive, which reduces incoming damage from all sources by 15 percent. Headshot damage ignores this damage reduction, so still keep a sharp eye out for snipers.
- Tactical: Mobile Shield
- Newcastle’s Q ability deploys an energy shield at a point within range. Newcastle can rotate and move this shield around for the duration of this shield’s ability by pressing the tactical button again. The Mobile Shield has health and is divided into an upper and lower half, both of which can be destroyed. Both sections of the Mobile Shield can take 350 damage before being destroyed.
- Ultimate: Castle Wall
- Newcastle leaps forward and deploys a large, electrified wall. The wall is destructible, with each large section of the wall having 750 health. If enemies touch or try to climb over the wall, they take damage and are stunned in a similar manner to Wattson’s fences. Newcastle’s leap to deploy the shield can traverse vertical distances. He can leap forward approximately 35 meters when targeting random surfaces, but that distance can be extended to approximately 70 meters if Newcastle targets one of his teammates with the ultimate.
How to play Newcastle in Apex Legends: Tips and tricks
Because so many of Newcastle’s shields incorporate character movement, he’s a more flexible legend than most of the other defensive characters in Apex. For players looking to add a more defensive character to their arsenal but don’t like camping and want to duke it out on the frontlines, Newcastle will be a good character to learn.
Tips: Retrieve the wounded
Newcastle’s ability to drag downed allies to safety, reviving them and protecting them with a shield simultaneously, is very strong. But he’s not invincible, and unlike Lifeline, reviving teammates takes his full attention. This means potentially leaving a teammate in a one-vs-three situation while Newcastle revives the downed member of a squad, or worse: being the sole focus of an enemy team while he tries to cart a teammate away.
Players have to be aware of the health of their knockdown shield while dragging teammates, and focus on getting them behind more permanent cover. Using some of Newcastle’s other shields while reviving can help out here tremendously as well, giving Newcastle and his downed teammate extra cover to work with, and forcing a far-off team that happened to get a knock to go through multiple shields if they want to try to finish off their kill.
Because of his ability to protect allies while reviving them, Newcastle joins Lifeline and Gibraltar as the character in your squad that should receive a gold backpack first, since he will likely be the character in charge of reviving squadmates in most situations.
Tips: Mobile Shield
The most important thing to remember about Newcastle’s Mobile Shield is right there in the name: it’s mobile. Newcastle can throw the shield forward a decent distance, and the shield will continue to move to the spot Newcastle indicates with his tactical button even after it deploys. This makes it a useful tool for advancing towards an enemy team or through a hotly-contested area, since the shield can move in the team.
Newcastle can also adjust the shield’s path and angle, meaning players shouldn’t forget about the shield as soon as they cast their tactical ability. It’s best used as a more active tactical ability than Gibraltar’s Dome of Protection or Rampart’s Amped Cover.
Finally, enemies will most likely destroy the larger upper portion of the Mobile Shield first. But destroying that section of the shield can allow your team to turn defense into offense, as the bottom portion of the shield remains. Crouching behind this low shield can give players a great spot to fire from, as most character models will remain covered by this lower portion of the shield. If your team has a height advantage, the low portion of the Mobile Shield can even function as a head glitch to fire from when the top portion of the shield is destroyed.
Tips: Castle Wall
The most obvious benefits of the Castle Wall are the wall itself: it’s big, it’s imposing, it gives Newcastle’s team plenty of cover, and it’s electrified nature makes it a bit more difficult for an enemy team to push it. What’s not quite as apparent is the usefulness of the Castle Wall casting animation and how players can use Newcastle’s leap forward when placing the wall.
The Castle Wall is very useful if your team needs some instant cover, especially if there’s no place to play in a shrinking circle or if a teammate gets downed in the open. Newcastle can leap to the teammate almost instantly and begin reviving them while his wall deploys in front of them, which should give him enough time to get the revive off.
Newcastle’s ultimate can also be used as a useful tool for him to escape back to his team or get into a high ground position quickly.
Since Newcastle’s ultimate also combines the solid cover of Rampart’s Amped Cover with the danger of stunning an enemy of Wattson’s electrified fences, the Castle Wall can also be useful for blocking doors in building, stalling enemies trying to get in. The wall itself will prevent a door from being opened, forcing teams to first destroy the door with ordinance, and then destroy the Castle Wall itself if they want to get in. While it’s not permanent protection by any means, it can give a team the necessary time to recover if they take too much damage, or have a teammate downed.


Published: May 10, 2022 03:08 pm