Warframe has sent players scavenging for materials and collectibles on several occasions. If you want to get as much Stock from Kahl-175’s Junk Run mission, you’ll have to get your magnifying glass and some night-vision goggles to track them down.
Unlike the Ostron Prisoners, the Grineer Genestamps have multiple different locations, but only five of them will actually contain the Genestamps. This means every run you make hunting for those Genestamps will be different since the same ones may not spawn back-to-back. You can spot any location with Genestamps by finding Grineer corpses scattered around the mission, but the Genestamps will be marked on your HUD if you get close enough.
Here’s where you can find the Genestamps for Kahl-175’s Junk Run mission, with help from u/QuadLyStop’s collectibles map.
Genestamp locations in Kahl’s Junk Run mission in Warframe
Location one: In the first room
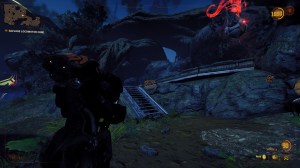
The first possible Genestamp spawn location is in the room where Kahl spawns. Before opening the door, look around you and to the left to find this Grineer on a set of stairs.

Location two: Second room
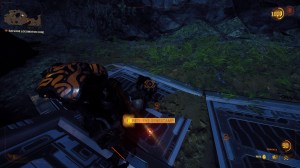
After you’ve opened the first barrier and spotted the first Deacon, head inside the hut with the control panel. Once the Deacon isn’t looking, make a left as usual, but keep your eyes peeled for a possible Grineer Genestamp spawn in the area, right by the stack of boxes on your left.
Locations three and four: the room with the Deacons and the Arc Mines
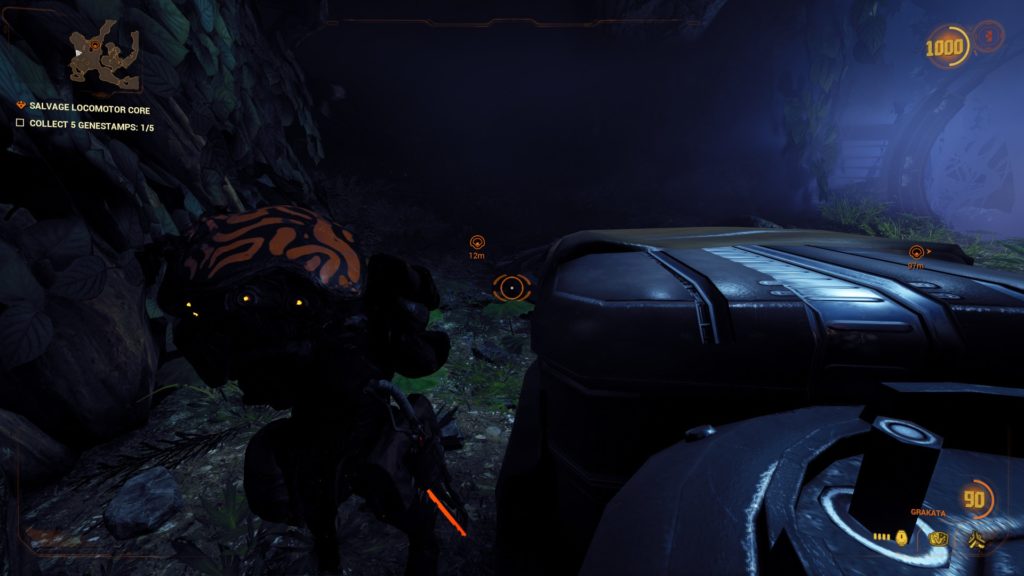
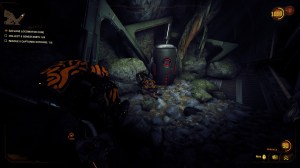
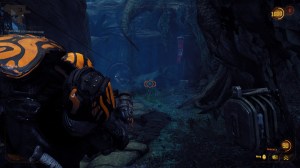
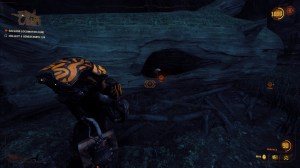
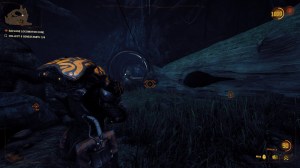
There are several possible Genestamp spawns in this area. One is in a hallway by the Ostron Prisoner, the other is inside a tree leading to another room inside this area. Get the one in the tree, then follow the hallway that’s just by it for more possible Genestamp spawns.

Locations five and six: a room within the Deacon room
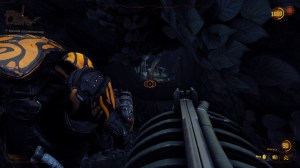
From the tree, keep following the path into the nearby tunnel to find another room. From there, head to the other end of the room to find a dead Grineer and a Somachord, then keep heading to the left (if you have your back to the Grineer soldier) until you find a dead end that leads into a small hallway. There will be a Grineer body there, with possibly another Genestamp.


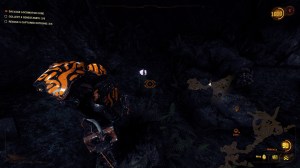
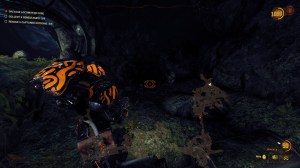
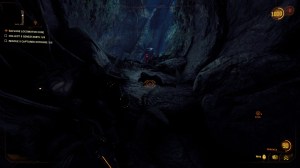
Location seven: After the Barrier in the Deacon room
If you’ve finished looking for the rest of the Genestamps, unlock the barrier in the room with the two Deacons to spot a Grineer body just on the other side.
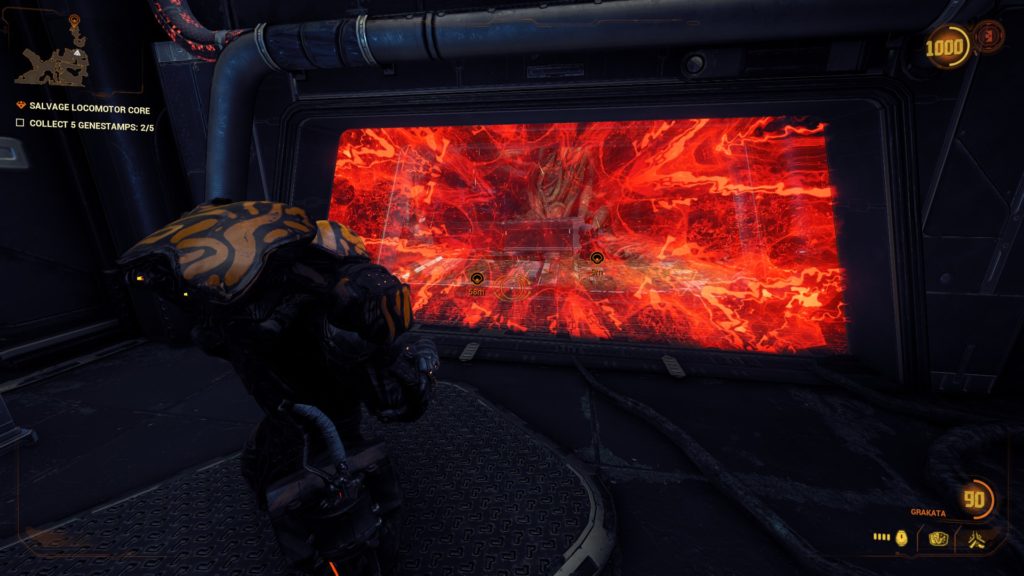
Location eight: In the room with the Thumper parts
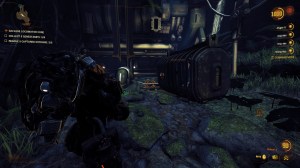
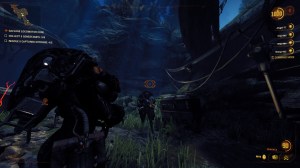
After you’ve picked up the Hellion Pack (jetpack), the game will show you a green indicator, which leads to the Thumper parts you have to pick up. Once you’re in front of the console needed to drain the pump, look behind you and search for a dead Grineer on a ledge for a chance at some Genestamps.

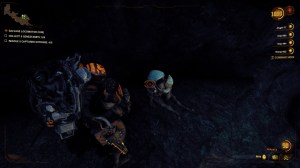
Location nine: In the room with the waterfall
Before opening the barrier that leads to a small bridge, backtrack and hug the right to find a room with a small waterfall and a few Sentient enemies. Look behind the stairway on the left side of the room for this Grineer, who is just below an Ostron Prisoner.

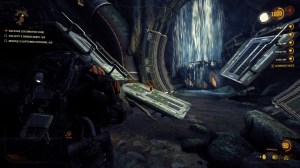
Location 10: In the room with a crane
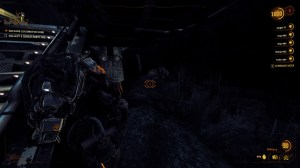
After unlocking the first bridge and before reaching the next objective, look for a room with a crane. It should be on the right side of the large room just before unlocking the first bridge, but before getting the Salvaged Kuva Ayanga.

Location 11: To the left of the large rope bridge
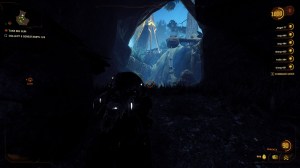
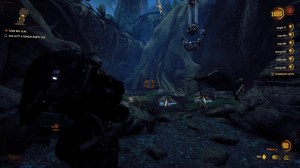
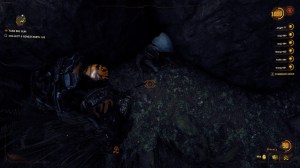
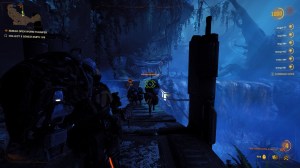
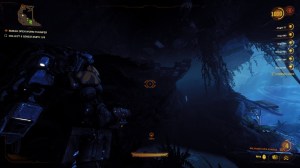
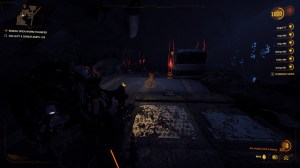
After you’ve picked up the Ayanga, the Daughter will tell you to cross the bridge. Instead, take the long way through the left side, climbing up some stairs and ledges to spot this Grineer corpse (and possibly some Genestamps).

Location 12: By the waterfall before the boss fight
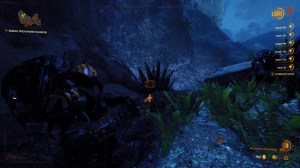
After you’ve picked up the Ayanga and startled the Thumper, don’t go into the boss room just yet. Instead, follow your objective until you’re close to the tunnel that leads into the boss room and go to your right to find a large waterfall. This Grineer corpse is by the waterfall, carefully hidden by a plant.

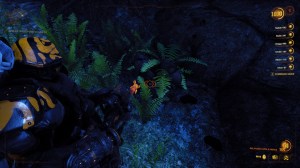
If you’re still missing one after all this, players reported a Grineer corpse in the right part of the boss room, though we couldn’t find its exact location.





Published: Sep 19, 2022 03:36 pm