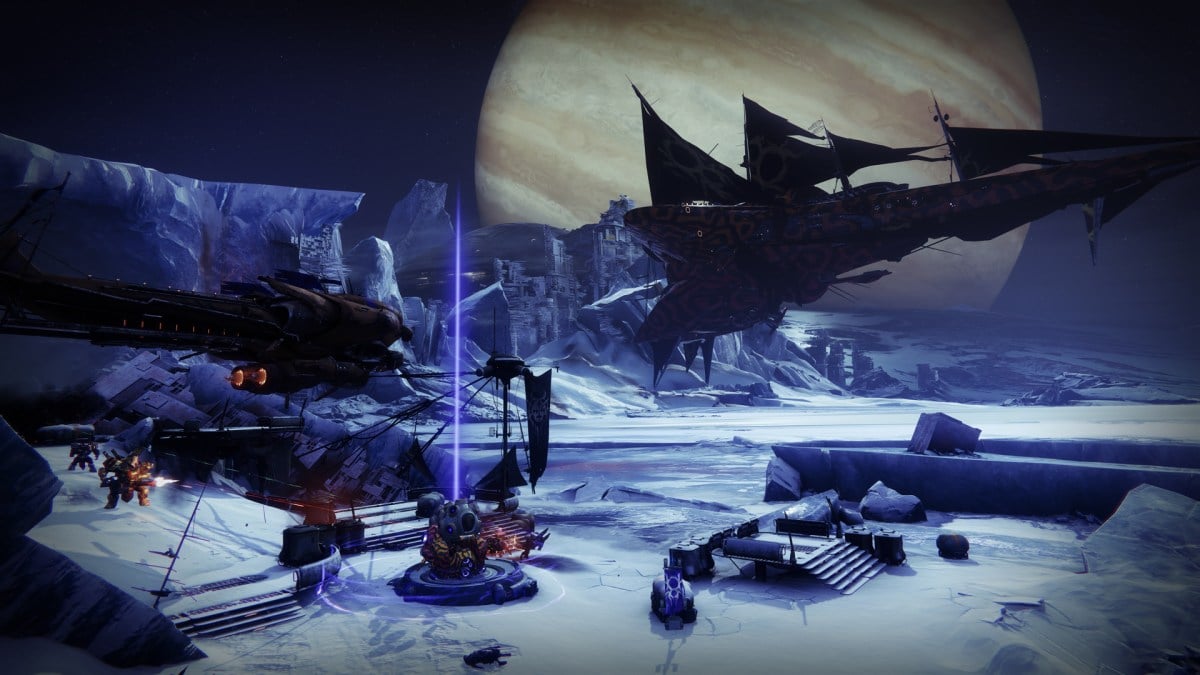
Destiny 2’s Season of Plunder leans heavily on the pirate theme, and Expeditions is where the “plunder” part of it comes to life. Expeditions allow you to use a Treasure Map to uncover some buried treasure in the form of seasonal gear, which you can dig up (quite literally) at the end of the activity. Expeditions are a core part of the seasonal loop and the weekly storyline, which will require players to finish Ketchcrash, Expeditions, and Pirate Hideouts to advance the story.
Expeditions bring a mix of familiar mechanics from the game, including the fake Engrams from Grasp of Avarice and the Overwatch-like escort mechanic that players may have seen in Savathûn’s Throne World. Here’s what you need to know to complete it and score some loot in the process.
How to complete Expeditions in Destiny 2’s Season of Plunder
Expeditions are available from their own node in the H.E.L.M. Before starting, we recommend picking up a Treasure Map (available from the Captain’s Atlas in your quest log). Don’t forget to bring some Overload or Unstoppable weapons too (or both) since some Champions will appear in the activity.
Dig up Treasure
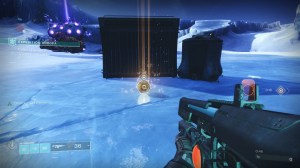
The first step in an Expedition is to dig up some treasure. To start, head to the mining lander (similar to the beam of light that appears in Glimmer Mining events) and interact with it to start digging. After some time (and some waves of enemies), the mining lander will start throwing treasure at you. These Engrams will not blow up or curse you like the ones from Grasp of Avarice. Instead, they’re a throwable object. Hurl them in the Treasure Haul (the large Eliksni carriage-like vehicle opposite the mining lander) to store your loot. Three types of enemy events can appear throughout your expedition, starting as soon as when you’re digging up treasure.


Random events: Ruffians, Saboteurs, and jammers
We’ve encountered three types of random events in Expedition missions so far: Ruffians, Saboteurs, and jammers. Ruffian enemies are Unstoppable Champions that will try to steal your treasure, so stop them, then finish them off. Saboteurs, on the other hand, are Overload Champions (the most annoying Champions to fight against), so make sure to stun them appropriately and take them out before they start regenerating health. Both Champion types will also come with small waves of enemies.
The jammer, on the other hand, will mark a spot on players’ HUD. Whip out your sparrow and head to the spot to find the jammer, which will be covered by a shield. Kill the nearby enemies to destroy the shield, then destroy the jammer and go back to the action.
Once you’ve thrown enough treasure, the haul will start moving, similarly to the cart in the Resonant Splinter Throne World event. And the enemies will not take too kindly to its departure.
Escort the Treasure Haul
After the Treasure Haul starts moving, you and your fireteam will have to stay close to the payload, similar to an Escort mission in Overwatch. Stick to the treasure haul and take out the enemies that appear until one of the random events shows up to put a halt to your looting operation. Take care of the enemies if they’re Ruffians or Saboteurs or sparrow over to the jammer, then head back to the treasure haul and
Once you’ve escorted the payload to the halfway point of the Expedition, the game will task you with more digging.
X Marks the Spot and Escort the Treasure Haul
After the Treasure Haul stops, the game will direct you to another digging location. At this point, repeat the process: kill the enemies around the mining lander, throw the treasure at the Treasure Haul until it starts moving, then escort it the rest of the way. You’ll also find another random event as you bring the payload to the end, so take care of it and hug the payload until the final stage.

Defend your Plunder
Just because you’ve brought the treasure all the way to the end of the Expedition doesn’t mean you can take it home just yet. The enemies will mount one final assault, and you’ll have to defend your loot from them. Clear the enemies that appear until the game summons an Elite enemy (with a punny, pirate name, as is expected from Season of Plunder). Take out the Elite with your Heavy or any Supers you may have, then clear the area and the loot will finally be yours.
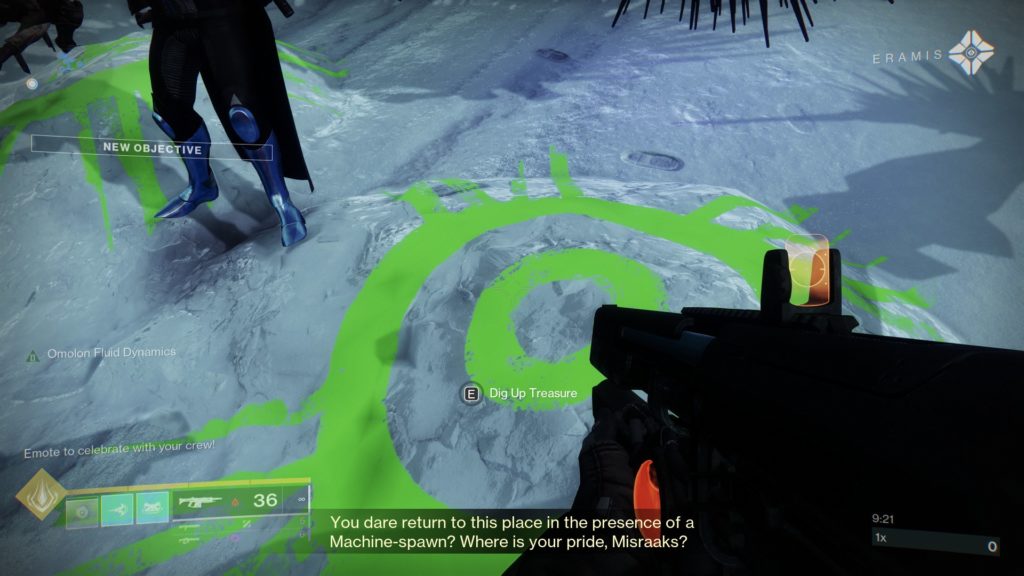
There are two chests in Expedition missions. One is opened with the Skeleton Key and awards general gear. The other is a buried treasure that costs one Treasure Map to open (which is why bringing them into the activity is important). To dig yours up, find the spot marked with the Eliksni symbols and interact with it. There are three dig sites, so each player can dig up their own. This should be the end of your Expedition, and you can go back to Orbit as soon as you’ve looted both chests and received their rewards (it’s better to wait until your loot shows up just in case).


Published: Aug 25, 2022 08:32 am