Easterman isn’t the only villain you need to worry about in The Outlast Trials. While the Murkoff staff work hard to brainwash you, it’s time to learn about your enemies to increase your survival odds.
Here are all the enemies you’ll meet in The Outlast Trials.
All enemies and how to deal with them in The Outlast Trials
The Outlast Trials has a multitude of enemies to deal with. Each map houses its own enemies for you to evade, outwit, and avoid while completing your Trial or MK-Challenge objectives. Let’s dive into every enemy you’ll face and how to easily evade them.
Leland Coyle
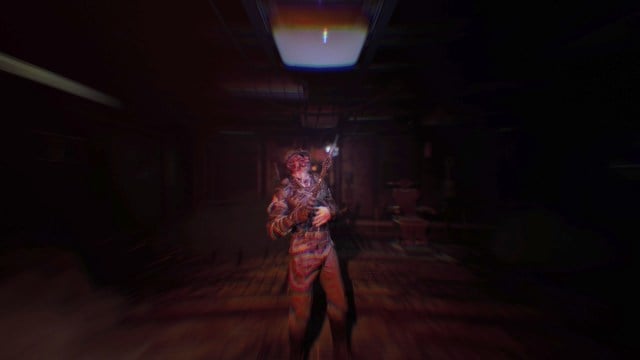
Leland Coyle appears in the Police Station and Courthouse. He wields an electrical police baton and patrols the main Trial objectives. Coyle is quite easy to avoid so long as you aren’t wandering around well-lit corridors.
Keep an ear out for his southern accent to identify his whereabouts.
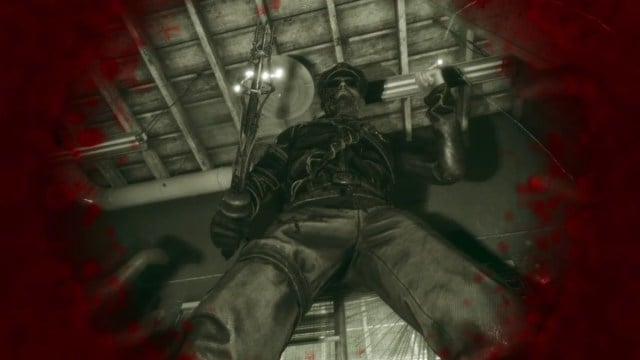
Coyle will attack you with melee-based attacks but is quite slow, letting you easily outrun him in a chase. Head into dark rooms so he can’t see you. Make sure to hide behind cover or around corners to avoid his line of sight. If grabbed, Coyle deals electrical damage from his baton, severely injuring the Reagent and likely pushing them into a downed position.
Mother Gooseberry

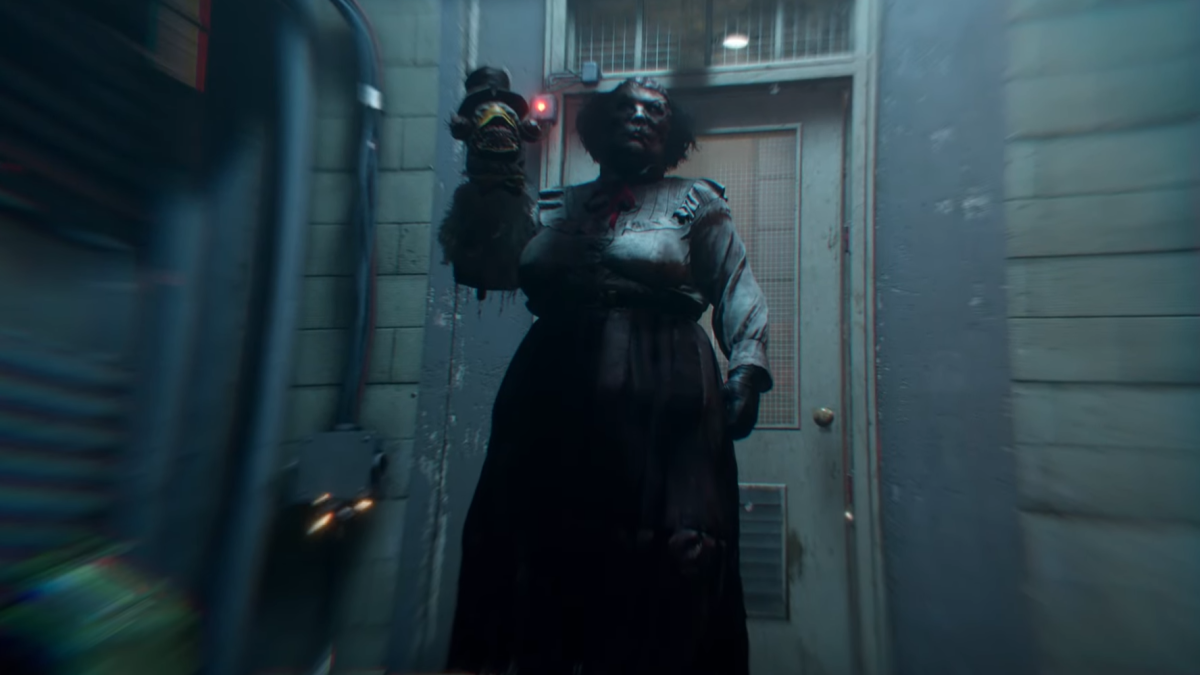
Mother Gooseberry patrols the main objectives of the Fun Park and Orphanage. Much like other Ex-Pop agents, Gooseberry can easily spot you in well-lit areas. You can use hiding spots, crouch behind cover, and stay inside dark rooms to avoid Gooseberry. Although she will enter dark rooms, she won’t find you unless she accidentally stumbles in front of you.
Gooseberry attacks with her puppet-saw combo. She can unlock previously locked doors, head to the main objectives as you progress, and look around entire areas rather than checking inside hiding spots.
Have throwables on you when you try to exit the Trial.
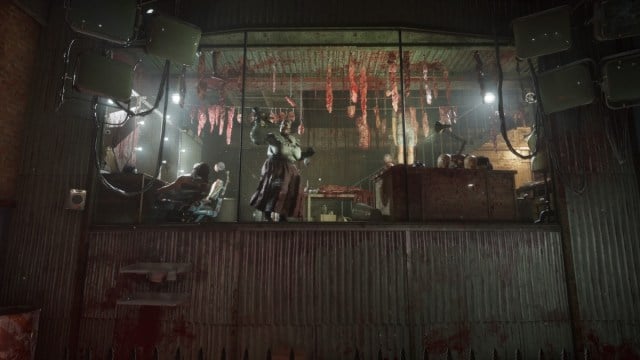
Just like Coyle, Gooseberry will spawn close to the extraction point at the end of a Trial and MK-Challenge. She will also chase you the moment all Trial and Challenge objectives are complete.
Pusher
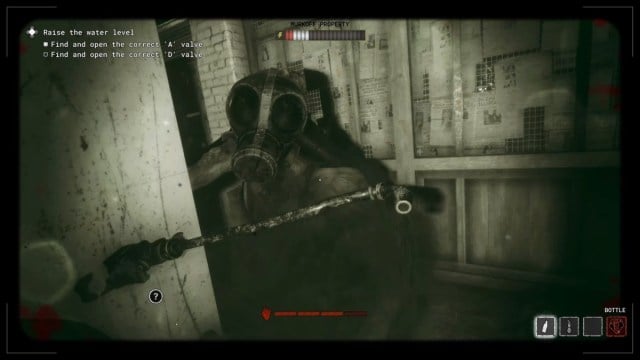
The Pusher is an Ex-Pop agent with incredibly high mobility. He appears often in the Police Station and Orphanage. He uses a fumigator that emits a hallucinogenic green gas, previously seen in the Program loading screens. If you get caught by the Pusher, he will spray the gas in your face, immediately inducing Psychosis.
Avoid standing in the middle of an area when the Pusher is sprinting back to the spawn point.
Stick to dark rooms and keep away from spawn-in points (these are double doors with a yellow flashing light and an alarm). This enemy can vault over windows and cover, and crouch underneath crawlspaces. If you are spotted by the Pusher, use a throwable item or Stun Rig and backtrack to a safe position.
Skinner Man
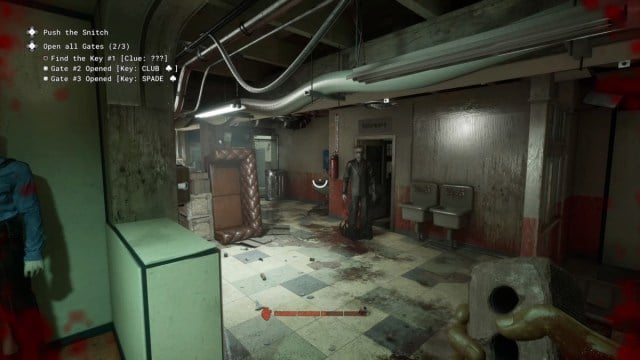
The Skinner Man only appears during Psychosis. You get this status ailment from extended inhalation of the green gas via the Pusher, turning the wrong valve, and opening toolboxes. Psychosis only hits once all three green bars are full. You cannot hide or outrun from the Skinner Man.
Pick up an Antidote if you are on the verge of Psychosis or if the Pusher is nearby.
The only way to fend against the Skinner Man is to remove all Psychosis effects using an Antidote. You can find these randomly on any map in The Outlast Trials.
Night Hunter
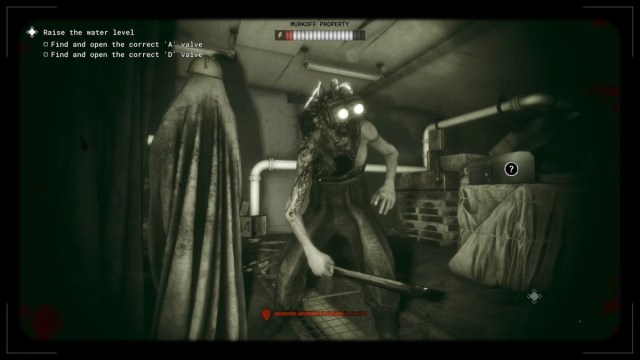
The Night Hunter is one of the harder enemies to avoid due to his night-vision goggles. He has fast mobility and is often seen walking around areas quickly. The Night Hunter appears most frequently in the Fun Park. He can easily crawl underneath spaces and rarely stands still. Stay alert and keep moving if the Night Hunter is around to avoid being spotted.
Use bottles and bricks to lure the Hunter to one side of the room while you escape.
The Night Hunter wields a machete, making him only lethal up close. Ensure you keep a safe distance, hide behind cover, and use any throwables you have to temporarily stun him if he sees you.
Screamer
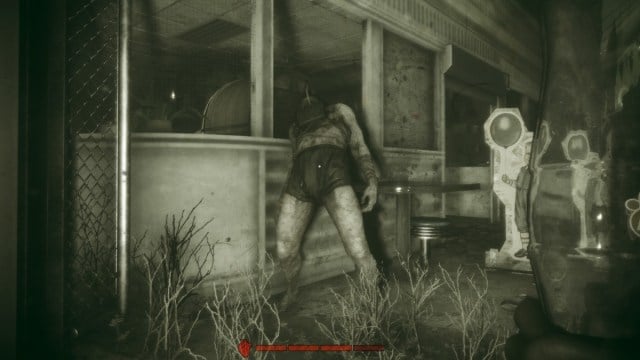
The Screamer is a unique enemy that appears on every map in The Outlast Trials. He has a single spawn point, unlike the rest of the Ex-Pop agents. The Screamer stands stationary, without a single dialogue line.
Although the Screamer breaths heavily, listen out for your heartbeat to indicate if he is nearby.
The only way to wake the Screamer up is to make a lot of noise near him. Triggering sound traps like stepping on glass or activating a door trap will wake him. If you trigger the Screamer, he will hysterically scream, causing visual distortion and cancelling all Reagent actions. The Screamer will then run to reposition.
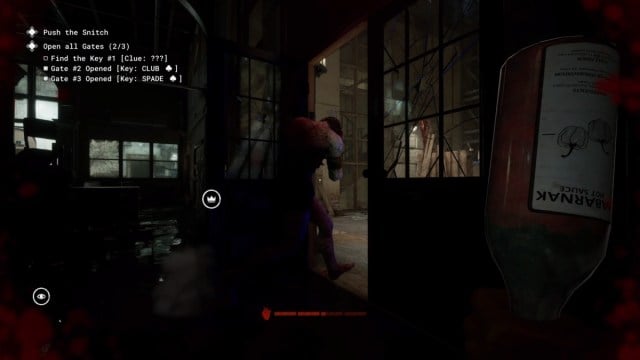
Do not get caught in the Screamer’s path or he’ll attack you. Listen out for his screams for his position, hug walls, and avoid doorways where the Screamer could pass through. You have absolutely nothing to worry about if you don’t trigger him.
Climbers
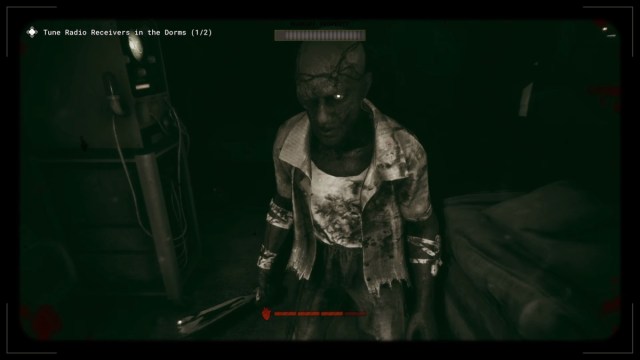
There are two variations of the Climbers. There is the male and female Climber, with one of the variants appearing on every map. The male Climber appears often in the Police Station and Orphanage, while the female Climber appears in the Fun Park and Courthouse.
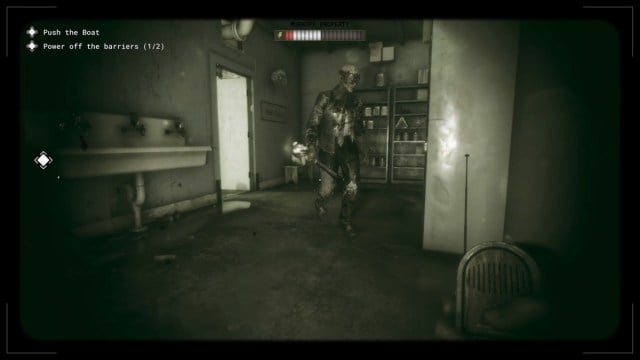
The Climbers use melee attacks, making them yet another enemy that needs to get close to deal damage. You can lure these enemies or attack them with throwables. Always have an item available in your inventory or your Rig fully charged up in case a Climber spots you.
Don’t step into a lit area when the Climber is looking your way.
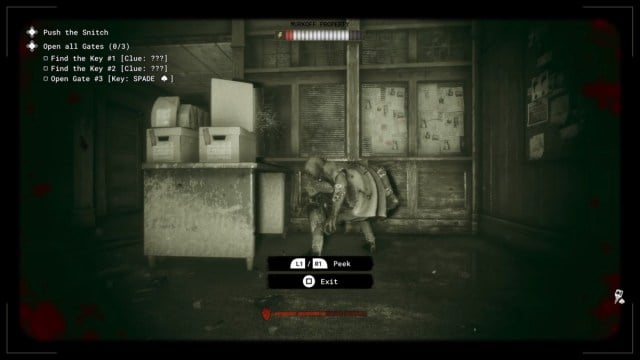
The Climbers often check hiding spots. Stick to dark rooms and rely on your night vision to escape the area. You can easily evade the Climber by crouch-walking in darkness.
Grunts
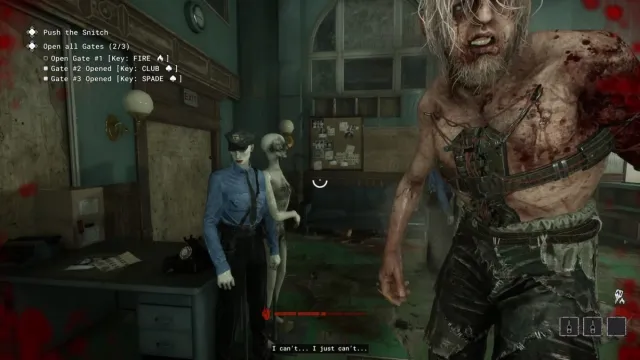
There are two types of Grunts in The Outlast Trials. The first is an unarmed Grunt that appears in the Police Station. The second Grunt wields a giant hammer and appears as the guard of the Courthouse. Both enemies stick to the main corridors and areas of the map and are often seen on the outskirts of an objective rather than actively patrolling.
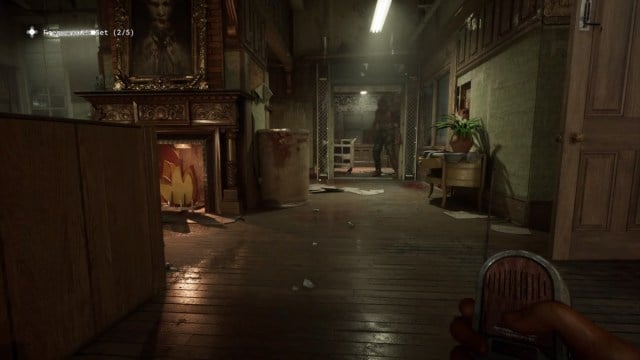
Listen out for their heavy footsteps and dialogue lines to plan your route past them. The Grunts like to bash open doors, giving you a new area to explore once they leave the room. They have a strictly linear patrol pattern that you can quickly learn by watching them from afar.
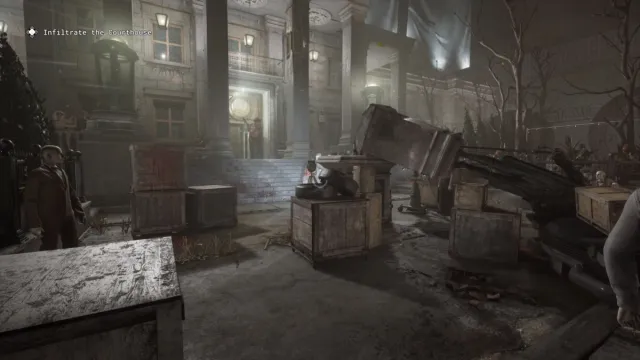
Remember nearby hiding spots to quickly backtrack to if you are spotted.
Pouncer
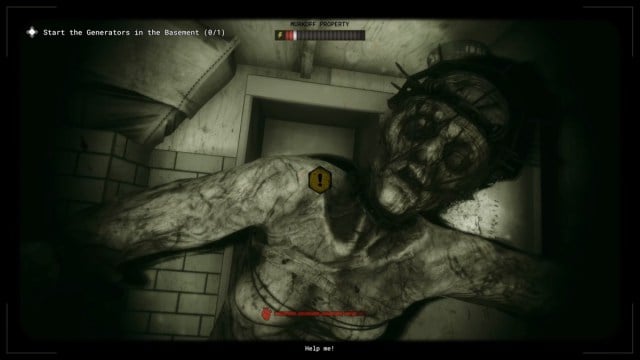
The Pouncer uses hiding spots on every map in The Outlast Trials. She is often heard screaming and telling us someone is going to “get her.” Listen out for her dialogue lines or turn on subtitles to determine if she is nearby. The Pouncer will hide inside cabinets, lockers, and desks, and leap onto you if you directly walk past or try to enter the spot she is in.
Look out for ajar cabinet doors.
Try to avoid her by identifying the hiding spot or refrain from climbing into any hiding spot. Mash to escape her grasp if she jumps on you. She will alert nearby enemies to your position.
Imposters
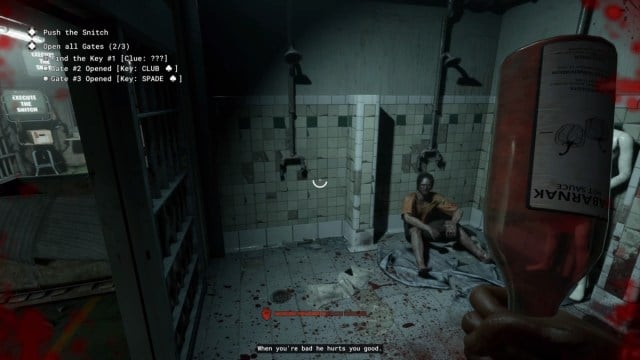
Imposters only appear in co-op. They look like other Reagents but are actually another enemy in The Outlast Trials. The Imposter will pretend to complete Trial objectives until you get too close. The Imposter will attack and retreat from the Trial if they catch you.
Communicate with an open mic or ping to identify Imposters.
Watch the movements of your fellow teammates, stay in pairs at all times, and delegate tasks so you know where everyone is at all times. The X-Ray Rig will also help pinpoint enemies like the Imposter’s whereabouts in case you lose track of your fellow Reagents.



Published: Mar 5, 2024 10:06 am