
This article is brought to you by StatBanana, the best Overwatch strategy tool.
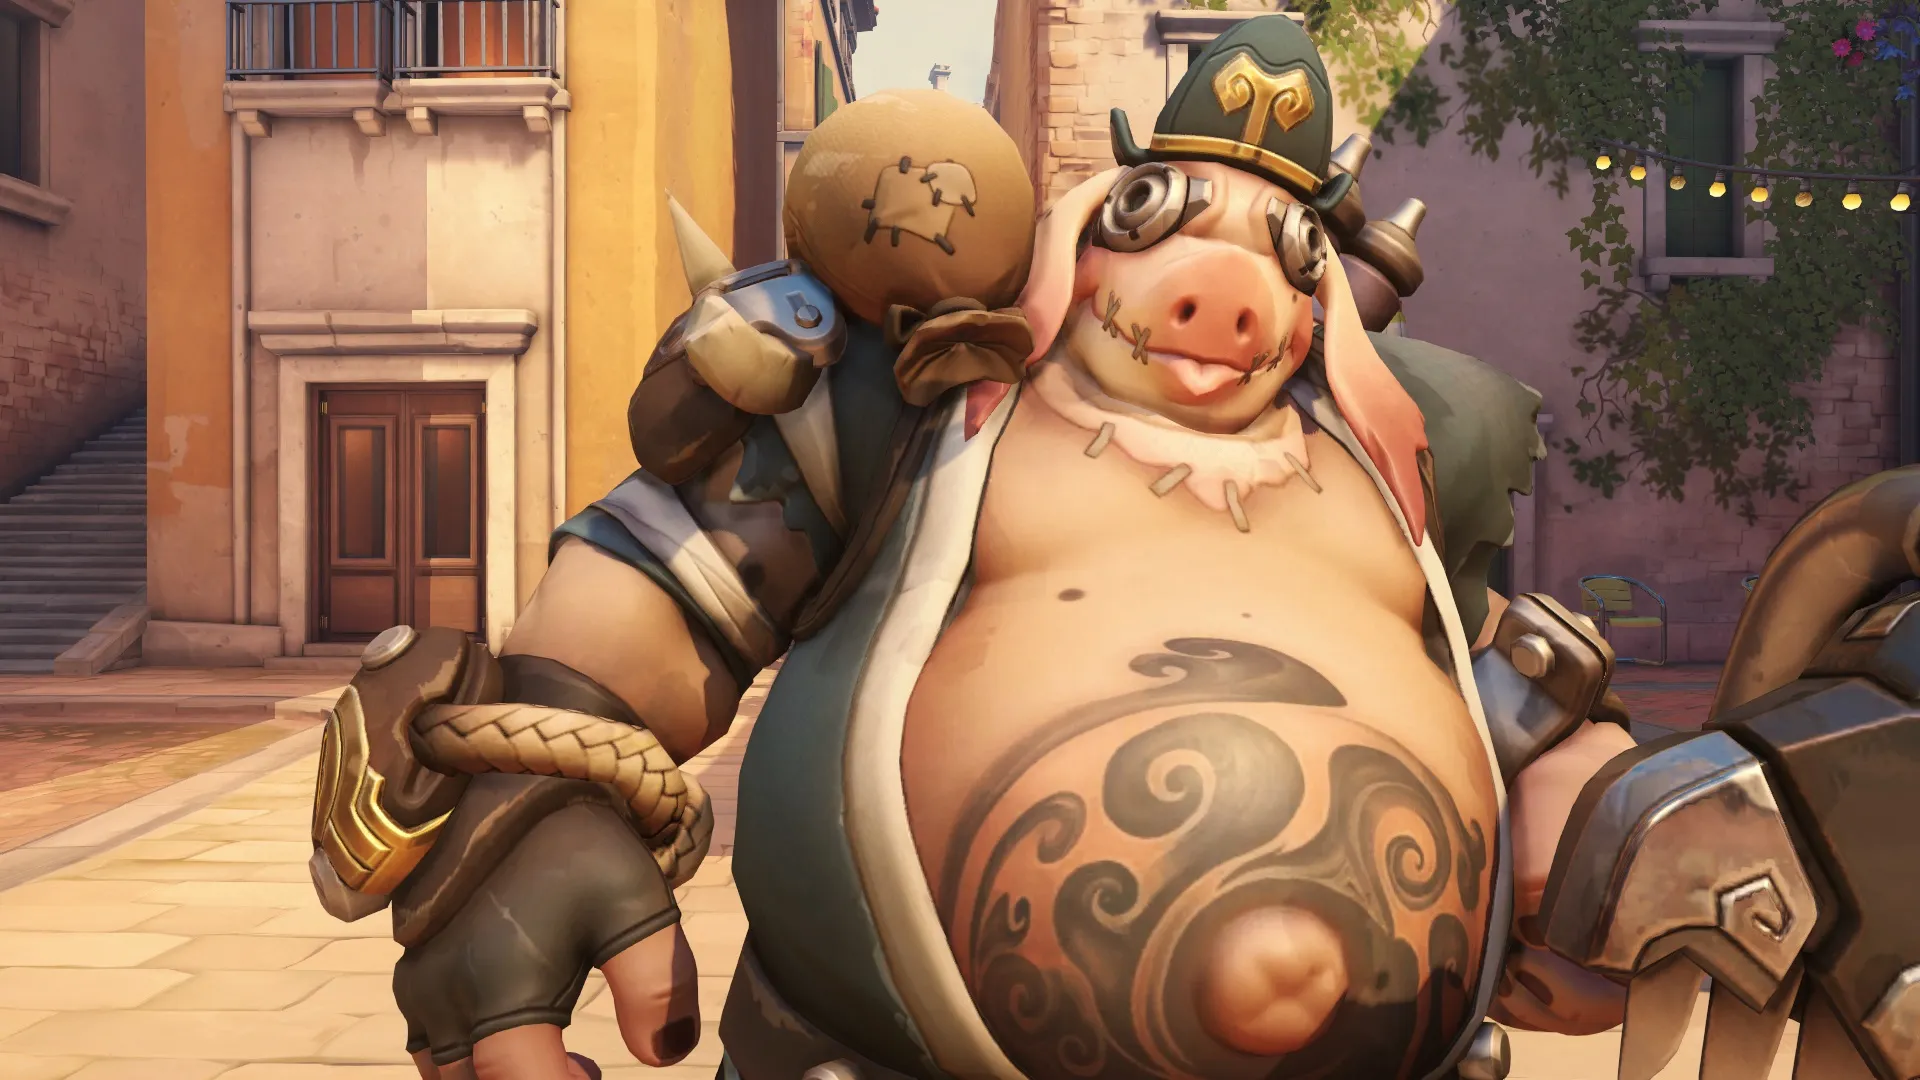
As a renowned killer and infamous brute, Roadhog comes from the Australian outback looking to retake his homelands that were, in his mind, unfairly given to the Omnics.
In game, his large stature and aggressive nature are perfectly in tune with his kit and his playstyle. With hook and Scrap Gun in hand, 600 health points, and the same damage output as most DPS, Roadhog wreaks havoc on his enemies when played correctly.
Roadhog’s primary weapon is his Scrap Gun, a large shotgun that’s fed with shrapnel. It has a five-shot magazine and fires a shotgun blast of 25 pellets per shot. His fire rate is middle of the road for single-shot characters at about 1.43 shots per second. With a two-second reload time, it’s important to take shots that are worth it and will do maximum damage, at least with his primary fire.
Roadhog’s secondary fire is a lot like his primary. But instead of spreading immediately, it shoots a large ball that detonates and becomes a shotgun projectile at eight meters. The clear use of this is if you can’t close a gap, the secondary fire gives Roadhog a bit more range to work with. But the secondary fire is also useful for spamming shields so that your team can push forward or create space. Knowing when to use what fire mode is incredibly important to playing Roadhog to his fullest potential.
Roadhog’s bread and butter ability is his Chain Hook, and it’s beautifully simple. You hit the button and Roadhog will fling a pointed hook toward where you’re aiming up to 20 meters and deal a measly 30 damage. Once hooked, Roadhog will pull that enemy all the way into him, giving both his team and himself the ability to lay down the pain on whichever poor hero had the misfortune of being in Roadhog’s way. A hook and a primary fire are usually enough to completely kill a 200 health target, but be sure to walk forward and aim for the body of skinny targets so that the full shotgun blast will land, and melee them if they have a sliver of health left after the devastating combo.
To use Roadhog’s hook effectively, there are two things to keep in mind. First, be sure to pull a target that your team wants to have closer to them. Pulling a Soldier: 76 or a Zenyatta is the perfect opportunity to gain the upper hand in a fight. But hooking a D.Va bomb or a nano-boosted Reinhardt that has shatter may be the easiest way to lose the game for your team. Being able to displace enemies is extremely powerful in a game about positioning like Overwatch, so also be sure to pull at the correct time. If an enemy is low and it can be a crucial pick, that’s a good time to hook. If your squad is trying to regroup and you hook a Hammond into your team, however, you might want to mute voice chat for a bit.
Take A Breather is what makes Roadhog so hard to kill. When activated, Roadhog lifts a gas canister to his face and takes, well, a breather. While in use, Roadhog channels this ability, so he can’t shoot, but he restores 300 health and takes 50-percent less damage during the channel. If used correctly, this ability lets Roadhog survive a D.Va bomb. Use this ability to restore health in a lengthy teamfight and during things like Soldier: 76’s Tactical Visor or D.Va’s Self-Destruct to survive and continue contributing to the fight.
Don’t forget about Roadhog’s ultimate ability, Whole Hog. When activated, Roadhog can’t activate any other abilities, cancel the channel, or even control when he fires. He loads some scrap into a top loader and unleashes a massive torrent of damage. Just like his Scrap Gun, being up close will ensure maximum damage output, so be sure to position yourself for success. The ability lasts for 5.5 seconds, and if every pellet lands a headshot, it can deal 4,928 damage.
Whole Hog also knocks enemies backs, which means that they won’t be close to you for long unless used to juggle enemies against a wall akin to how Winston players use Primal Rage. Although it’s damage heavy, many Roadhog players will seek to simply disrupt the enemy team with the ult and kills that come with it are big bonuses. Be careful, however, and don’t push enemies away from friendly ults like Genji’s Dragonblade and Tracer’s Pulsebomb.
Roadhog synergizes extremely well with main tank Orisa since the Halt-Hook combo is the best and most consistent way to pick off an enemy before a fight even begins. Ana is also fantastic to have on the team because she can easily hit Roadhog’s fat body with heals.
Be careful of enemies like Reaper or D.Va, who possess shotgun weapons. These weapons will almost always land the full brunt of their damage on Roadhog because of his healthy hitbox. Ana is also someone you need to worry about since her CC abilities, Sleep Dart and Biotic Grenade, are easily targeted toward Roadhog and even counter him in some sense.