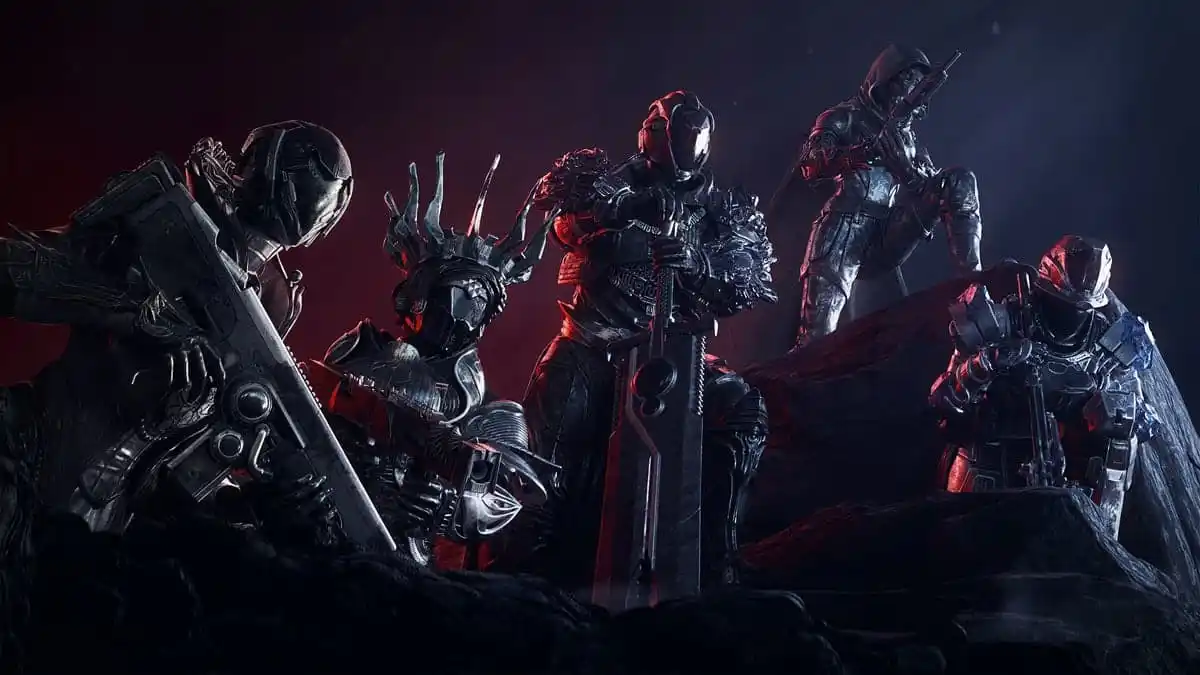
Destiny 2’s Legend and Master Lost Sectors are an excellent source of Exotic drops, but they come with the difficulty spike to match their rewards. Unlike their regular counterpart, these Lost Sectors are filled to the brim with Champions, challenging enemies, and a series of modifiers such as Match Game, Extra Shields, and Limited Revives.
Finding a good loadout is key to getting the best out of any Legend Lost Sector, particularly due to Match Game. Luckily, the Empty Tank only has one Arc Shield at the end of the first room. But that doesn’t make it an easy activity.
Here are our suggestions on how to beat it.
Loadouts
The new artifact mods are significantly different from the ones last season (Anti-Barrier Sniper, we miss you already). This forces players to change their style a bit. Our favorite loadout relies on two hard-hitting weapons and a solid primary to deal with Overload, but there’s no one way to clear out this Lost Sector.
Recommended
- Kinetic: True Prophecy/Steady Hand (Hand Cannon) or Extraordinary Rendition (Submachine Gun) for Overload Champions.
- Energy: Eriana’s Vow (Intrinsic Anti-Barrier).
- Heavy: Code Duello, preferably with Lasting Impression.
- Subclass: Any with a Super that can burn down a boss. We went with bottom tree Void coupled with Orpheus Rig for Hunters, middle tree Arc with Cuirass of the Falling Star for Titan, and Chaos Reach with Geomag Stabilizers for Warlocks.
- Mods: Overload Hand Cannon/Submachine Gun, Rocket Launcher Ammo Finder/Scavenger/Reserves.
Alternative loadout
- Kinetic: Dead Man’s Tale, preferably with Vorpal Weapon or Fourth Time’s the Charm (Anti-Barrier).
- Energy: Ikelos SMG (Submachine Gun) or any Hand Cannon (for Overload Champions).
- Heavy: Code Duello, preferably with Lasting Impression.
- Mods: Anti-Barrier Scout Rifle, Overload Hand Cannon/Submachine Gun, Rocket Launcher Ammo Finder/Scavenger/Reserves.
Champions and Shields
- Champions: Overload Champion x2, Barrier Champion x3 (two Servitors and one Cabal).
- Shields: One Arc Shield on a Resilient Captain.
Guide
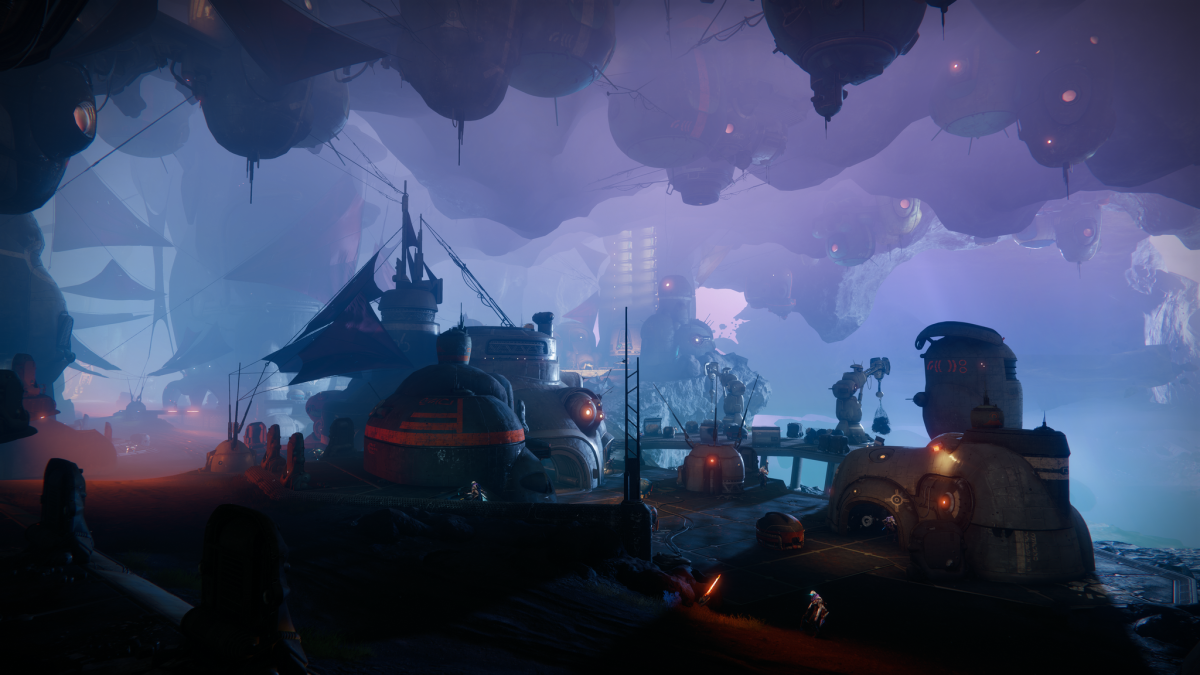
Any Legend Lost Sector can be a complicated task for players who aren’t used to this type of activity, and even veterans can still find themselves in trouble if something goes wrong or if they don’t know the particular layout and enemy distribution in the activity. The Empty Tank, for instance, starts with an unexpected Overload Champion as the first enemy in the area.
Here’s what you need to know for each part of the Lost Sector.
Entrance
This Lost Sector kicks off with a surprise: The first door is guarded by an Overload Champion before you even make it inside the bar. Slowly make your way to the stairs with your Overload weapon at the ready and facing right, since the enemy will be right outside the door. Stun it, then stick it with a Code Duello (jump over the railing before shooting to avoid any unfortunate accidents). While the rocket is ticking, shoot the Champion three times with Eriana’s Vow for good measure. Performing a finisher is always an option if the combination doesn’t take it out for good.
Bar area
After taking care of the Overload Champion, you’ll make your way into the actual bar area. There’s a Barrier Champion here, but your first priority should be taking care of the four Vandals that are on the right side of the zone. Their wire rifles are extremely accurate and can down a Guardian in two to three shots, especially if there are many of them focusing fire on you—and they’ll take you out if you’re too busy looking at the Servitor.
Use your Eriana’s or Dead Man’s Tale to take care of the Vandals, starting with the DJ. Cover is extremely helpful during this part. Hug the left wall to protect yourself from the invulnerable enemies in the center of the room, then take out the Vandals and Dregs. You can use the big machine between the entrance and the DJ’s booth as cover from any other enemies on the right side.
After clearing out most of the Vandals, it’s time to take out the Barrier Servitor. Poke at it with your Anti-Barrier weapon until it raises its shields, then stun it and stick it with a rocket. Dregs will throw grenades at you throughout the process, but you can always shoot them or fall back.
Another wave of enemies (including more Vandals) will spawn after the Servitor is down, coming out from the door on the other side of the room (on the left). Take them out from your vantage point and play it safe.
After clearing out the first area, shoot out the mines that the Vandals dropped upon death, particularly the DJ, and trigger the console. A Resilient Captain with Arc Shields will come out of the door on the right side of the room. An Ikelos SMG will do the trick because of Match Game, but you can brute-force the shield out with a well-placed rocket. If you’re running Invisibility on a Hunter, you can go invisible before it appears to have an easier time landing the shot.
Cages
The next room is a narrow passageway filled with Thralls and War Beasts. Go inside until you’re where you find the first Thrall, but backtrack to the entrance and shoot it. Wait until the reinforcements come running for you and take them all out. (If you did the invisibility trick, the first Thrall is a good opportunity to refresh your smoke bomb cooldown with a dodge).
Make your way through the room until you find the last War Beasts and take them all out with your primary.
Boss room
This is the hardest part in the Lost Sector thanks to its lack of cover. The closest thing to protection in this area is the slope above the entrance and a few walls, but neither of them is particularly reliable. Kill the enemies in the center, then make your way to the top of the ramp and keep an eye on the left side. An Overload Champion will come out, surrounded by exploding Shanks and a Vandal.
Throwing a grenade at the entrance will blow up the Shanks and take out the Vandal, but if that doesn’t work, use cover to keep your distance. Take them out starting with the Vandal, then finish the Overload. Move back to the ramp (a little below the top this time) and look to the right side.
A Cabal Barrier Champion will come out with a pack of War Beasts. It will shoot a salvo of nearly-homing rockets that slow you down just as it comes out, so move to the left when you see it coming and make sure they land on the ramp. Dodging these can be tricky, and thanks to the blindness and slowing effect of the missiles, it will probably end in death.
Move around the ramp, pop the champion with your Eriana’s or a rocket, then stun it when the barrier comes out and finish the job with a rocket. The rest of the War Beasts are trivial, though one of them is a yellow bar.
The boss fight will spawn pieces of cover in the middle of the arena, but you won’t use them just yet. They are far too close to the boss and it’s easy to get overrun by the enemy mobs.
Take up your usual position on top of the ramp, then eliminate whichever Vandals aren’t protected by the Barrier Servitor. You have just enough time to take out the Barrier Champion with the Eriana’s Vow/Code Duello Combo, which should leave one less thing to worry about. Titans can create their own cover with Barricades, then peek outside of it to take out the Vandals and force the Servitor to use their Barrier.
Take care of the additional enemies and the boss, using your Super to clear the area and get the cache code. Another mob will spawn from the left side of the room near the boss area, but they’re completely optional. Just head out through the doorway on the right and loot the cache.
Thundercrash won’t kill the boss without Cuirass of the Falling Star, so if you don’t have it, be ready to put some Eriana shots into it. Keeping your distance helps. The boss doesn’t deal as much damage at long range. Chaos Reach can burst it down if you’re running Geomags and Shadowshot will also make short work of it.