
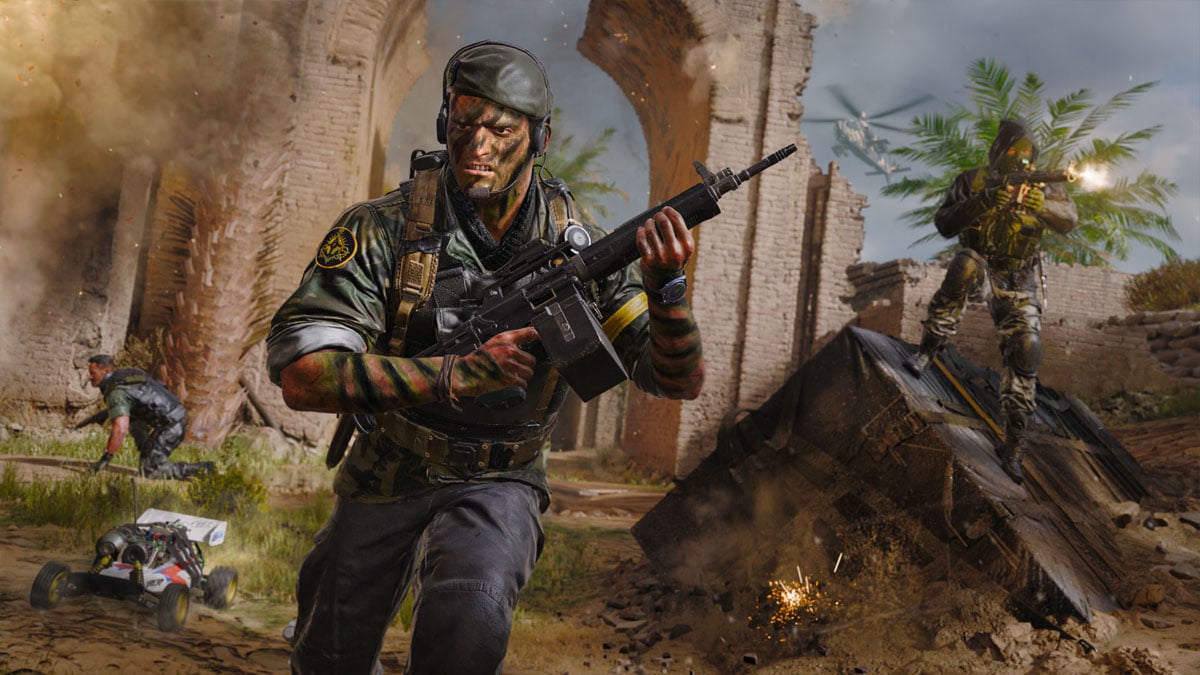
Whenever D-Day is mentioned, you usually hear about the historic moment from the perspective of the Allied forces—not the Axis. Call of Duty: WWII’s Operation Neptune, however, gives you the opportunity to play as an Axis soldier trying to defend the beaches of Normandy.
Operation Neptune is a part of the War game mode added to Call of Duty: WWII. This game mode features a two-round system with gameplay between Allied and Axis forces. The Allies are the offensive team for Operation Neptune, while the Axis forces are the defensive squad.
Related: Here are several offensive strategies for Call of Duty: WWII’s War mode—Operation Neptune
In War, each squad gets an opportunity to play as both the offensive and defensive team. The Allies need to complete three offensive tasks to win Operation Neptune, while the Axis forces try to prevent them from finishing these objectives. Each task is timed, and if the Allies win both rounds, whichever team had the fastest overall time will emerge victorious.
Defense can get very hectic on Operation Neptune, so here are some tips and tricks to help you hold off the Allied forces for as long as possible.
Defend the cliff bunkers
The first defensive objective for Operation Neptune is to prevent the Allied forces from taking control of the two cliffside bunkers. There are two Axis bunkers equipped with turrets that you can use to lay waste to the Allies as they attempt to storm the beach. You have six minutes to prevent the Allied forces from capturing these bunkers.
Arguably the most important part of this mission is to build and maintain the walls in the middle of the trenches. These walls are essential to keeping the Allied forces away from your bunkers—if the walls aren’t built or remain down, the enemies have much easier access to the bunkers. As soon as you spawn in on the defensive side of Operation Neptune, one of your first tasks should be to build these walls and defend them at all costs.
The bunker turrets are helpful for this mission, but snipers are especially dangerous. If you equip the Lookout basic training, you can even see the enemy targets appear from further away—which makes it that much easier to snipe your opponents from extremely long distances.
The combination of the Mountain division with a sniper, like the Kar98k, and the Lookout basic training is a great class to use for this mission. As the enemies start to get closer to the bunker, make the transition to a more close-quarters weapon, such as a submachine gun or a shotgun.
Protect the radio equipment
If you’re unsuccessful in defending the bunkers, the next defensive objective for Operation Neptune is to protect the radio equipment. There are 10 large devices located in a building, and you have five minutes to prevent the Allies from destroying all of them.
This is quite possibly the most difficult part of Operation Neptune. Once again, it’s important to build all of the walls and defenses available so you can fortify this building. Otherwise, the Allies can just walk right in and take down all of the radio equipment in seconds.
A wide variety of weapons can be used for this part of the map. SMGs are most beneficial at protecting the interior of the building, while assault rifles and snipers can be used by anyone defending the exterior.
The Armored division and Hunker basic training are almost essential for this mission—the Allies will be using a lot of grenades and explosives to try to take out the radio equipment. Armored and Hunker will keep you alive a bit longer to defend these devices.
Defend the artillery guns
If you fail to protect all 10 radio devices, the final defensive objective for Operation Neptune is to defend the artillery guns. There are two large artillery guns located on opposite sides of the map. You have six minutes to prevent the Allies from planting a bomb three times on each turret.
It takes three seconds to plant and defuse the bomb, and the bomb timer is only 15 seconds—which means you’ll have roughly 12 seconds to regain control of the turret and defuse the explosive if the Allies successfully plant it.
One of the most overlooked aspects of this objective is the buildable defenses in front of the turrets. You can build barbed-wire fencing to stall out your opponents—but several teams take this for granted and forget to build the fences in the heat of battle. We strongly recommend taking the time to build this fencing at the start of the final objective—it’s well worth it.
Much like the last defensive objective, an assortment of weapons can be useful to defend these artillery guns. SMGs are good for playing the objective and standing near the artillery guns, while ARs are beneficial to fight Allied soldiers further away from the turrets.
Once again, Armored and Hunker will help protect you from enemy grenades, but the Airborne division can also be helpful to get you back into the fight quicker after dying.
Operation Neptune is a lot of fun to play, regardless if you’re on the offensive or defensive side of the map. The difficulty of this map, combined with the option to use a wide variety of weapons, allows for Operation Neptune to cater to the playstyle of almost any competitor. If you’re struggling as the Axis team on Operation Neptune, however, try out some of these tactics and see if you can win as the defensive squad.

Published: Nov 17, 2017 04:17 pm