While you can cheese most Fool’s Journey stages in Sword of Convallaria with fully upgraded characters and gear, some extra stages force you to use stock units to solve tactical puzzles. 4-13-1 and 4-13-2 in particular are head-scratchers that’ll leave you using up all your backtrack points to figure it out.
Tired of trying to save those civilians without your carefully curated roster of overpowered characters to help? The solution is simpler than you might think—here’s how to solve Fool’s Journey 4-13-1 and 4-13-2 in Sword of Convallaria.
How to beat Fool’s Journey Chapter 4-13-1 ‘Accidental Discovery 1’ in Sword of Convallaria
At the beginning of the fight, you have no access to your usual characters and are forced to use three basic NPC units. Thankfully, every unit on the map is placed in a specific pattern that can be solved in only three turns using the right actions. For the most part, the turns involve taking the first obvious action available.


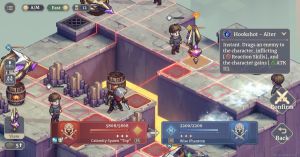
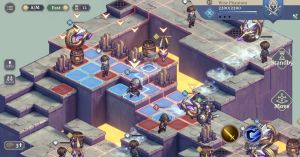
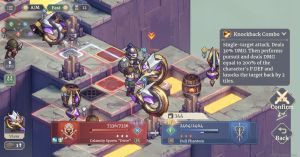
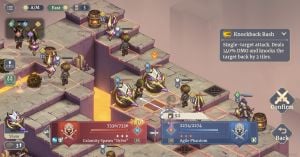
- Send the “Agile Phantom” Breaker unit right up to the Calamity Spawn “Drive” and use Knockback Bash to send it one tile to the northeast.
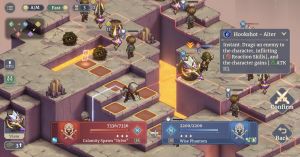
- Have your “Wise Phantom” Seeker unit immediately use Hookshot on the Calamity Spawn “Top” that’s across the gap. Make sure to move the Seeker unit somewhere safe and out of the explosion radius of the barrel.
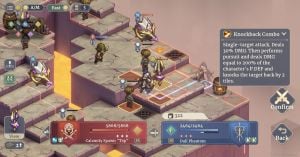
- Send the “Dull Phantom” Defender unit down to the leftmost Drive enemy and use Knockback Combo to push it one tile southeast.
Then you can sit back and watch the Rube Goldberg machine of death resolve without harming any allied units.
How to beat Fool’s Journey Chapter 4-13-2 ‘Accidental Discovery 2’ in Sword of Convallaria
Stage 4-13-2 works on the same format of solving the map with the same three units, and is divided into two separate puzzle phases. The first part has you more or less taking the obvious options in front of you like you did in 4-13-1, but with a few extra steps:





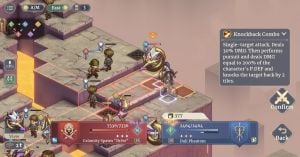
- Walk your Breaker unit right up to the “Top” and use Knockback Bash to send it two tiles to the southeast.
- Have your Seeker unit hop across the gap, then use Hookshot on the “Drive” enemy to pull its trajectory by three tiles.
- Take the Seeker jump down to hit the Rattan Ball to the southeast.
- Send the Defender unit towards the red tarot card, then hit the Rattan Ball.
- With the “Act Again” buff, have the Defender unit use Knockback Combo on the “Drive” enemy nearby to bash it up the steps towards the spike trap.
Once the first puzzle resolves, the next phase starts after a short cutscene. Unfortunately, the solution to the second part isn’t as obvious and might seem like it requires more turns than you’re given—the trick is that the Seeker unit will actually be doing most of the work while the other two put on the finishing touches.

- Of the pair of wheel-type enemies nearby, use the Breaker unit to knock back the rightmost one to the northeast.
- Then, have the Seeker jump up to the middle of the steps and use Hookshot to grab the second wheel and move it across the gap.
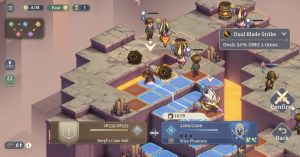
- Move the Seeker to the red tarot card and hit both Rattan Balls towards the enemies, using the second turn from the “Act Again” buff to hop across the gap to the second ball.
- Have the Defender circle around to the spiked “Top” enemy nearby and knock it to the northeast.
The stage will once again resolve with the Calamity Spawn destroying each other in sequence without touching a single civilian. Now you can go ahead and collect the goods from the treasure chest at the end of the path before getting back to the main journey.






Published: Oct 25, 2024 05:20 pm